
In this blog, we introduce you to the life-changing potential of Yoga For Men, and take you through a 30-minute Vinyasa flow that enhances strength, flexibility and mindfulness. We urge you to accompany us un diving into the different positions that deal with abdominals, upper body, and IT band openers, all that by linking your breath with movement.
Table of Contents
Yoga For Men
Mastering Chaturanga for Beginners: A Comprehensive Guide
Behold, we give you the absolute beginner’s guide to chaturanga! This impropably [...]
Yoga For Men
Achieve a Nervous System Reset with Yoga Nidra: A Guided Journey
In today’s fast-paced world, finding moments of peace can feel elusive. This [...]
Yoga For Men
15-Min Yoga & Pilates for Athletes: Get Stronger, Faster & More Flexible!
Ready to unlock your full athletic potential? This 15-minute yoga and Pilates [...]
Yoga For Men
10-Min Yoga for Men: Relieve Back & Hip Pain + Full-Body Flexibility! (4K!)
Men, say goodbye to lower back pain and tight hips with this [...]
Yoga For Men
5 Minute Ankle Mobility Stretches (New Years Yoga 2025 Day #5)
📣 Join my 7-Day Sexual Wellness for Men Challenge for FREE! No [...]
Yoga For Pain
10 min Yoga for Hips & Lower Back Pain Relief
This 10 minute yoga for hips & Low Back Pain stretches sore [...]
Welcome to the Practice
Initiating a session of Yoga for Men is an exceptional opportunity for you to learn and practice things that will certainly help you become stronger and more flexible while also promoting relaxation and mindfulness. By allowing the movement to take your mind off thoughts, you are focused on your breath and you are present in each moment.
Setting the Scene in Bali
You're visualizing a peaceful treehouse built with bamboo right in the middle of the forest. The soft brush of leaves and the far-off sounds of wildlife perfectly create a background for your practice. This quiet atmosphere invites you to throw away distractions and go into a state of flow.

Preparation for Your Practice
Let's first talk about the need for a comfortable area before we start the poses. A yoga mat is most preferred, but you can also use a soft carpet or even a wooden floor, if you cannot get one. The most important thing to be kept in mind is to create a space that lets you feel relaxed and helps you concentrate on the movements very well.
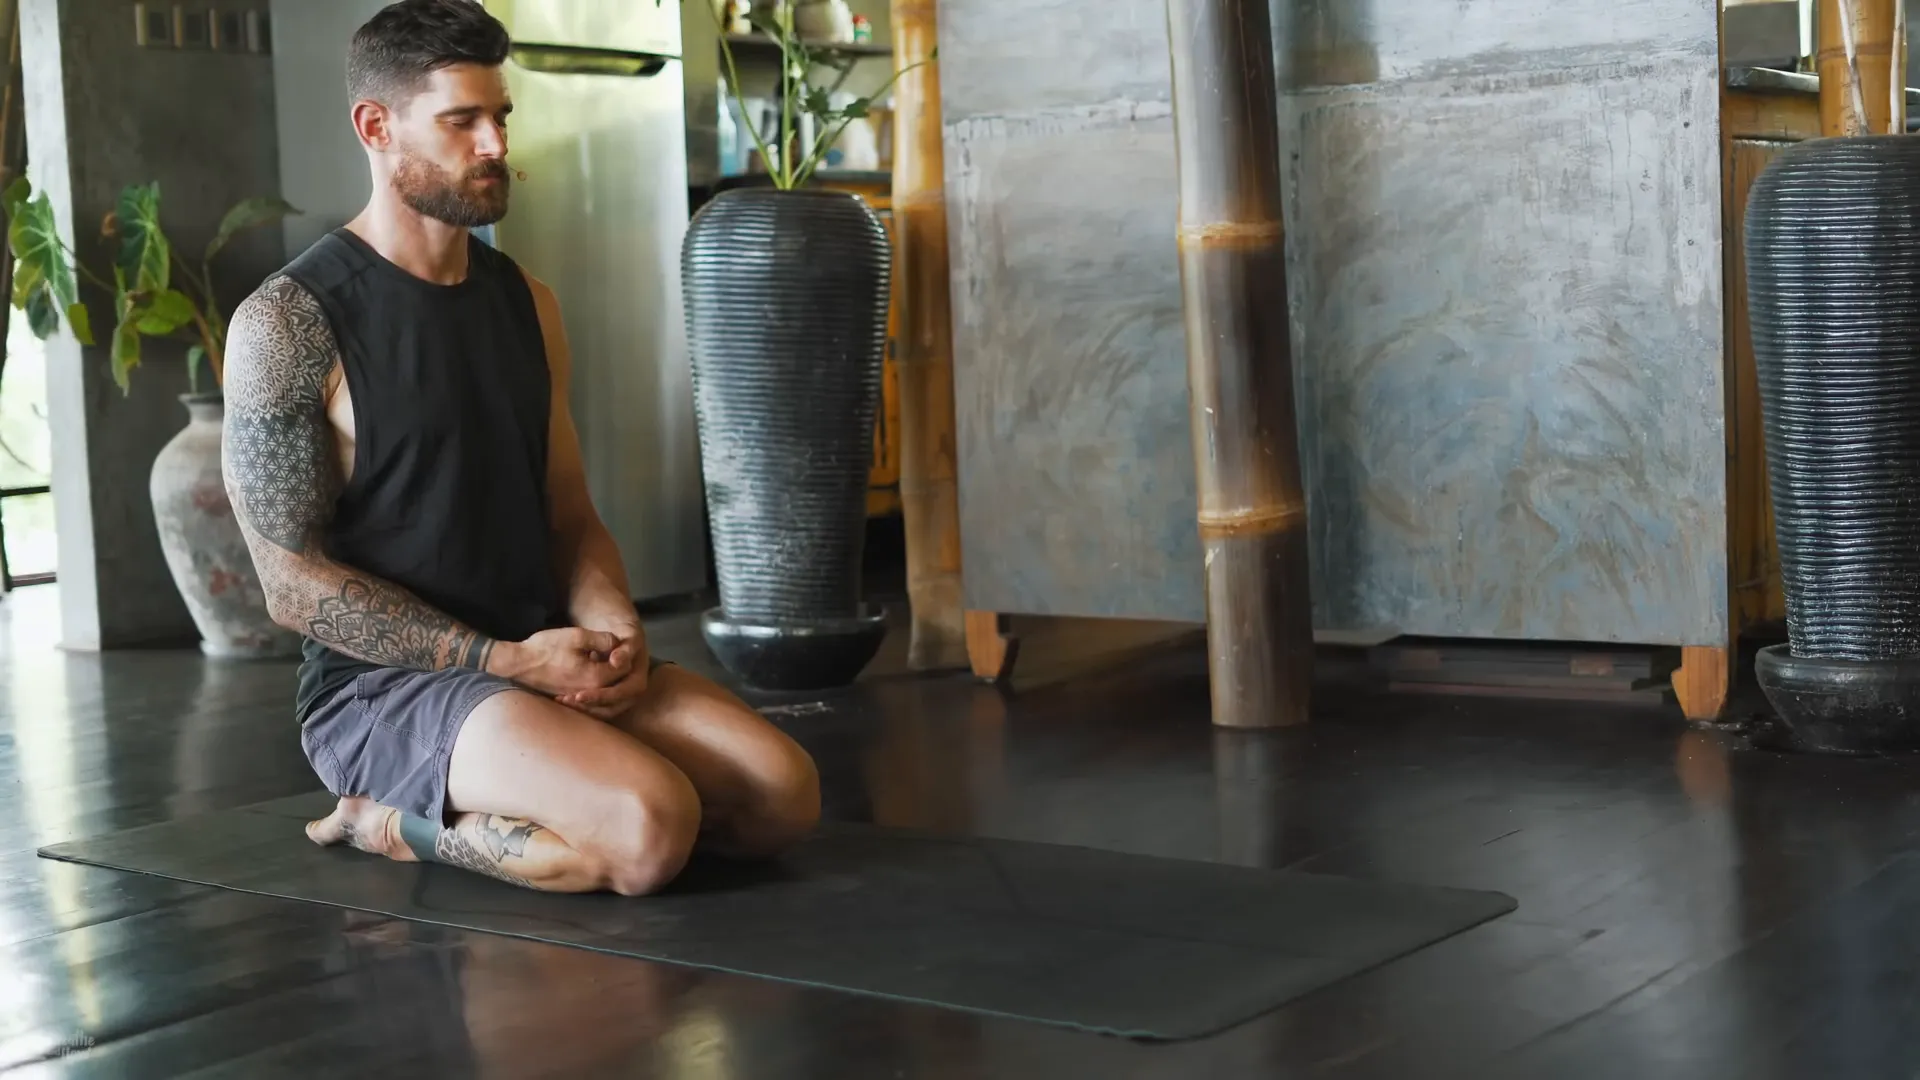
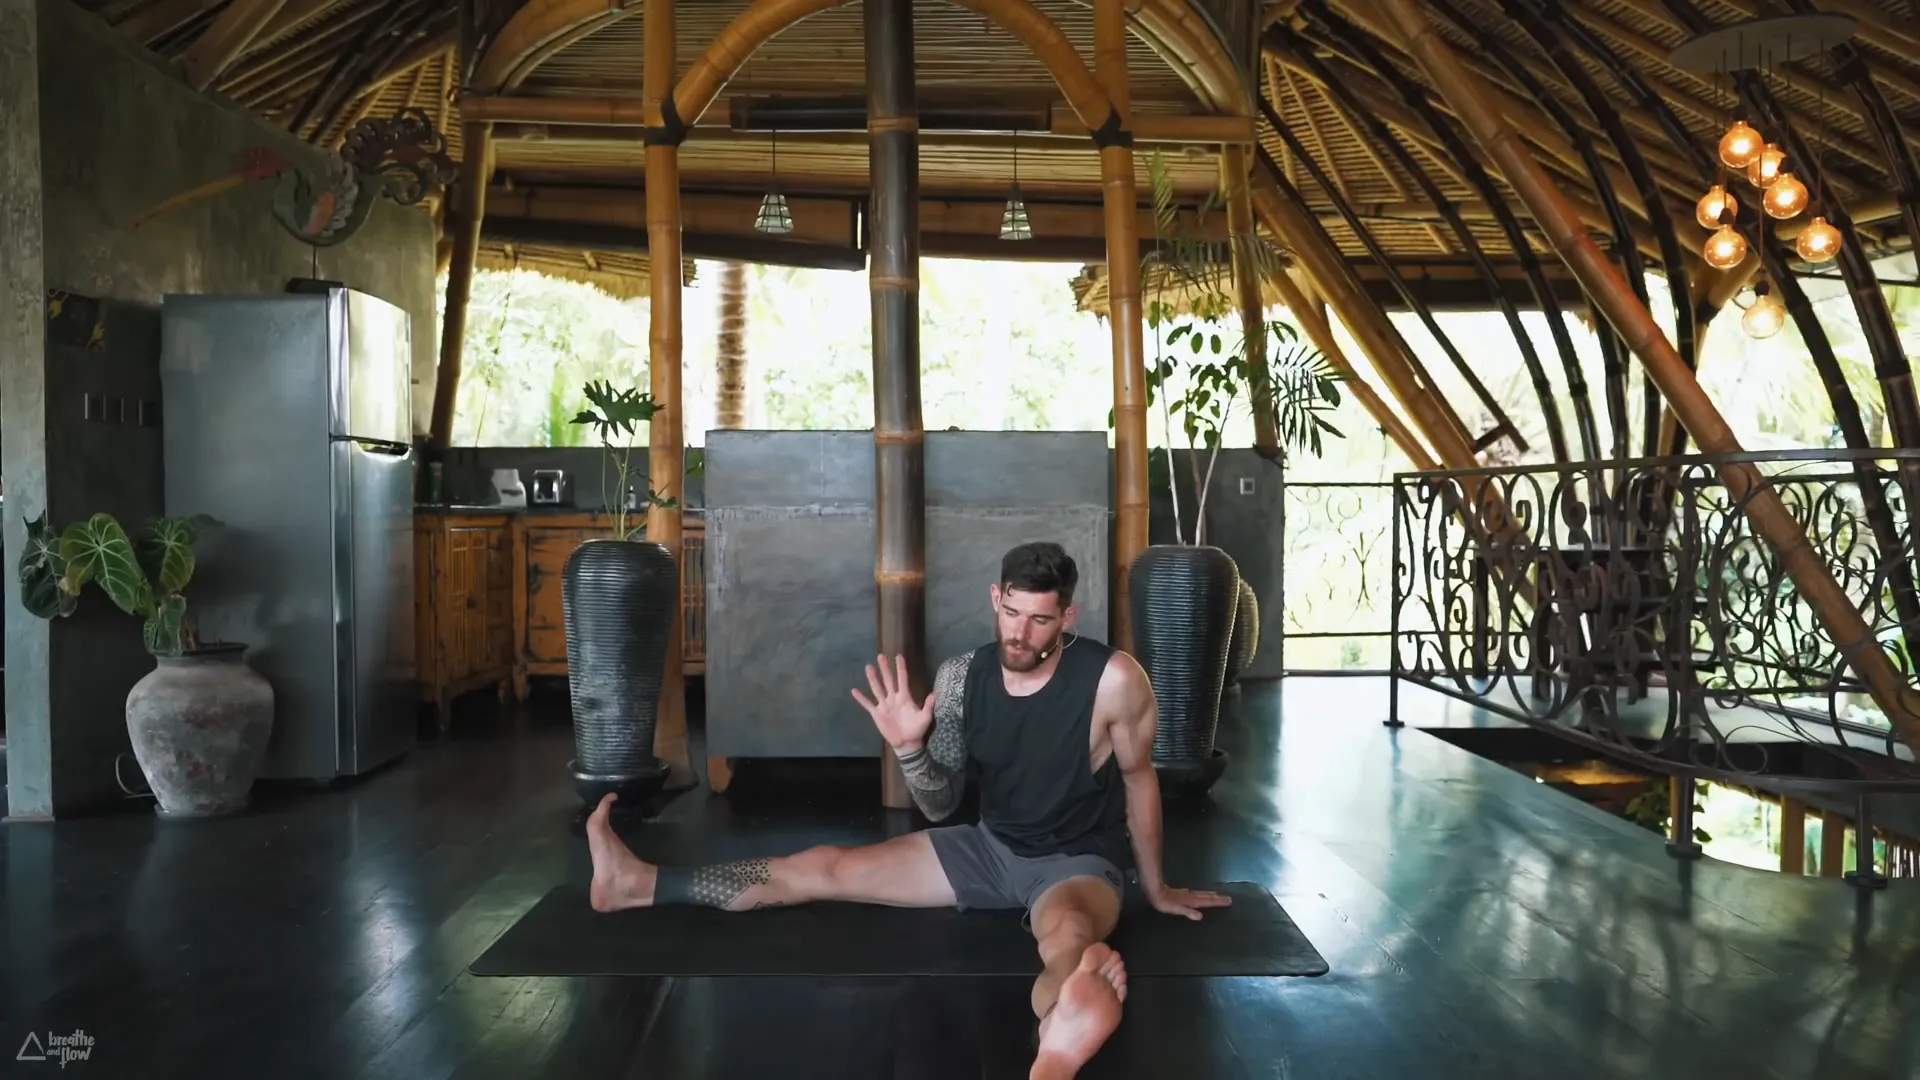
Finding Your Seated Position
Seating yourself in a comfy position is always the best way to start. You may either choose hero's pose or sit cross-legged, choose what feels best for you. You can use a blanket or bolster to elevate your hips and to make yourself more comfortable and also to have a better posture.

Setting Intentions
Pause for a while and establish a specific goal for your practice. This may be a word or a phrase that you like which will guide you to keep your focus throughout the session. Intentions serve as an anchor to your mind, and by that, you can link your practice to your personal objectives.
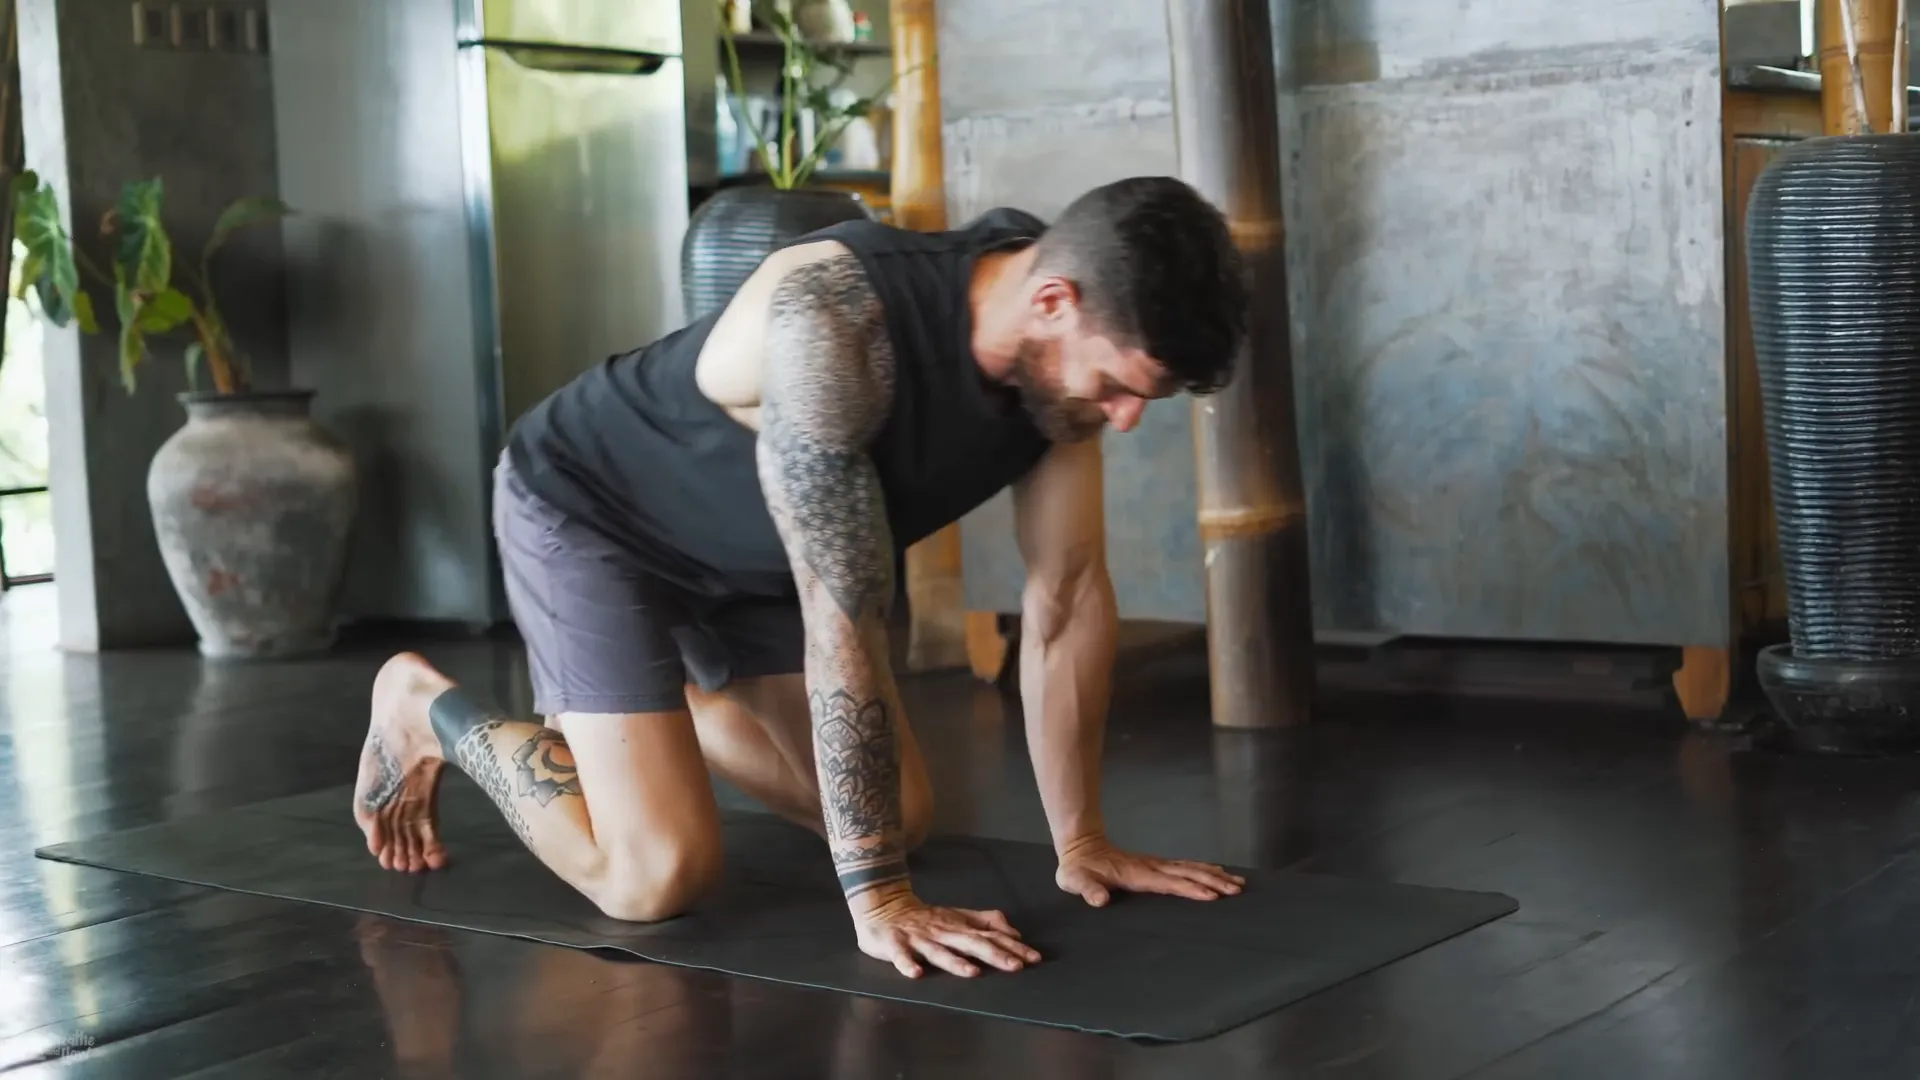
Wrist Warm-Up
One of the most important things to remember while practicing weight-bearing postures is warming up your wrists. Initially, you should try the exercise of making circles with your wrists, first in one direction and then in the other to loosen them. This is a simple way to ensure that the wrists will be ready for the coming exercises.
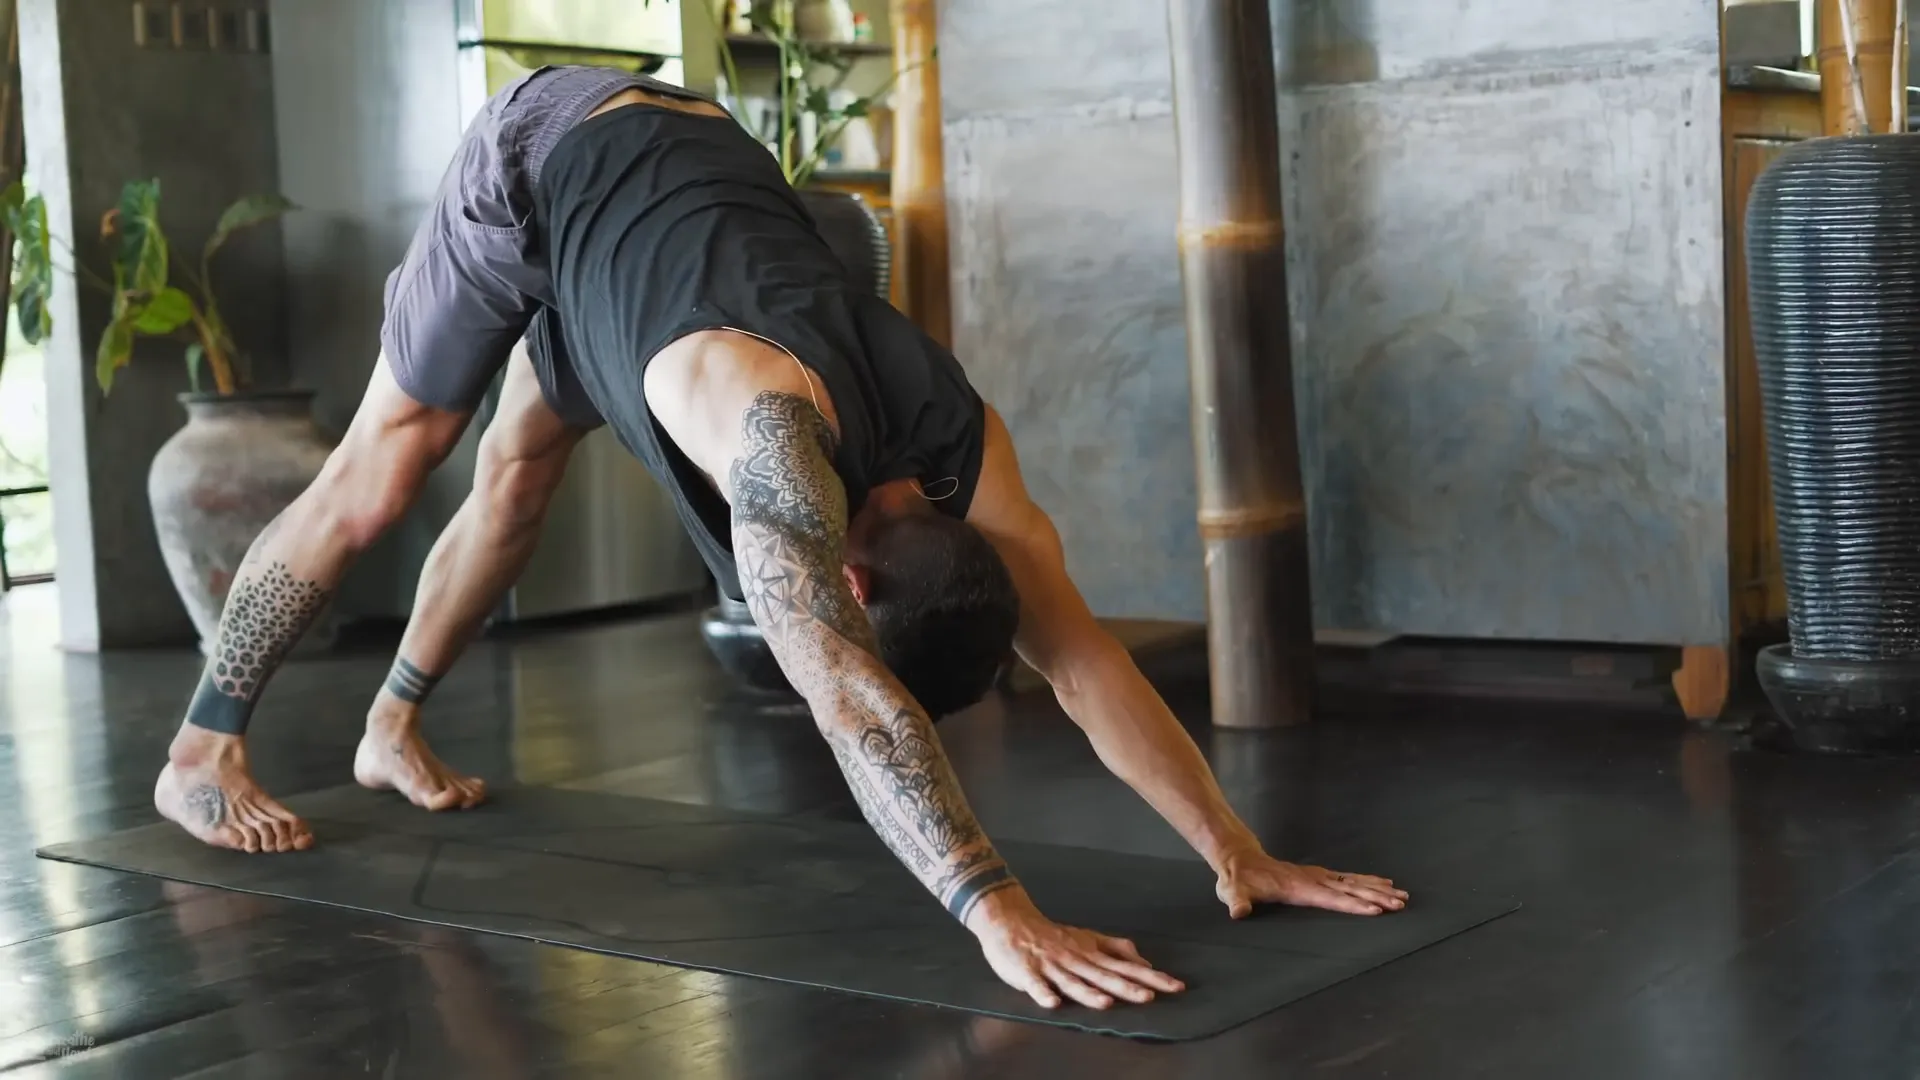
Downward Facing Dog
To move into the downward-facing dog position, you can bring both of your hands to the floor and elevate your butt up and back. You can start with your knees bent and create a massage of your back by letting your body be in this pose. The position stretches the back and expands the shoulders, forming a firm basis for your practice.
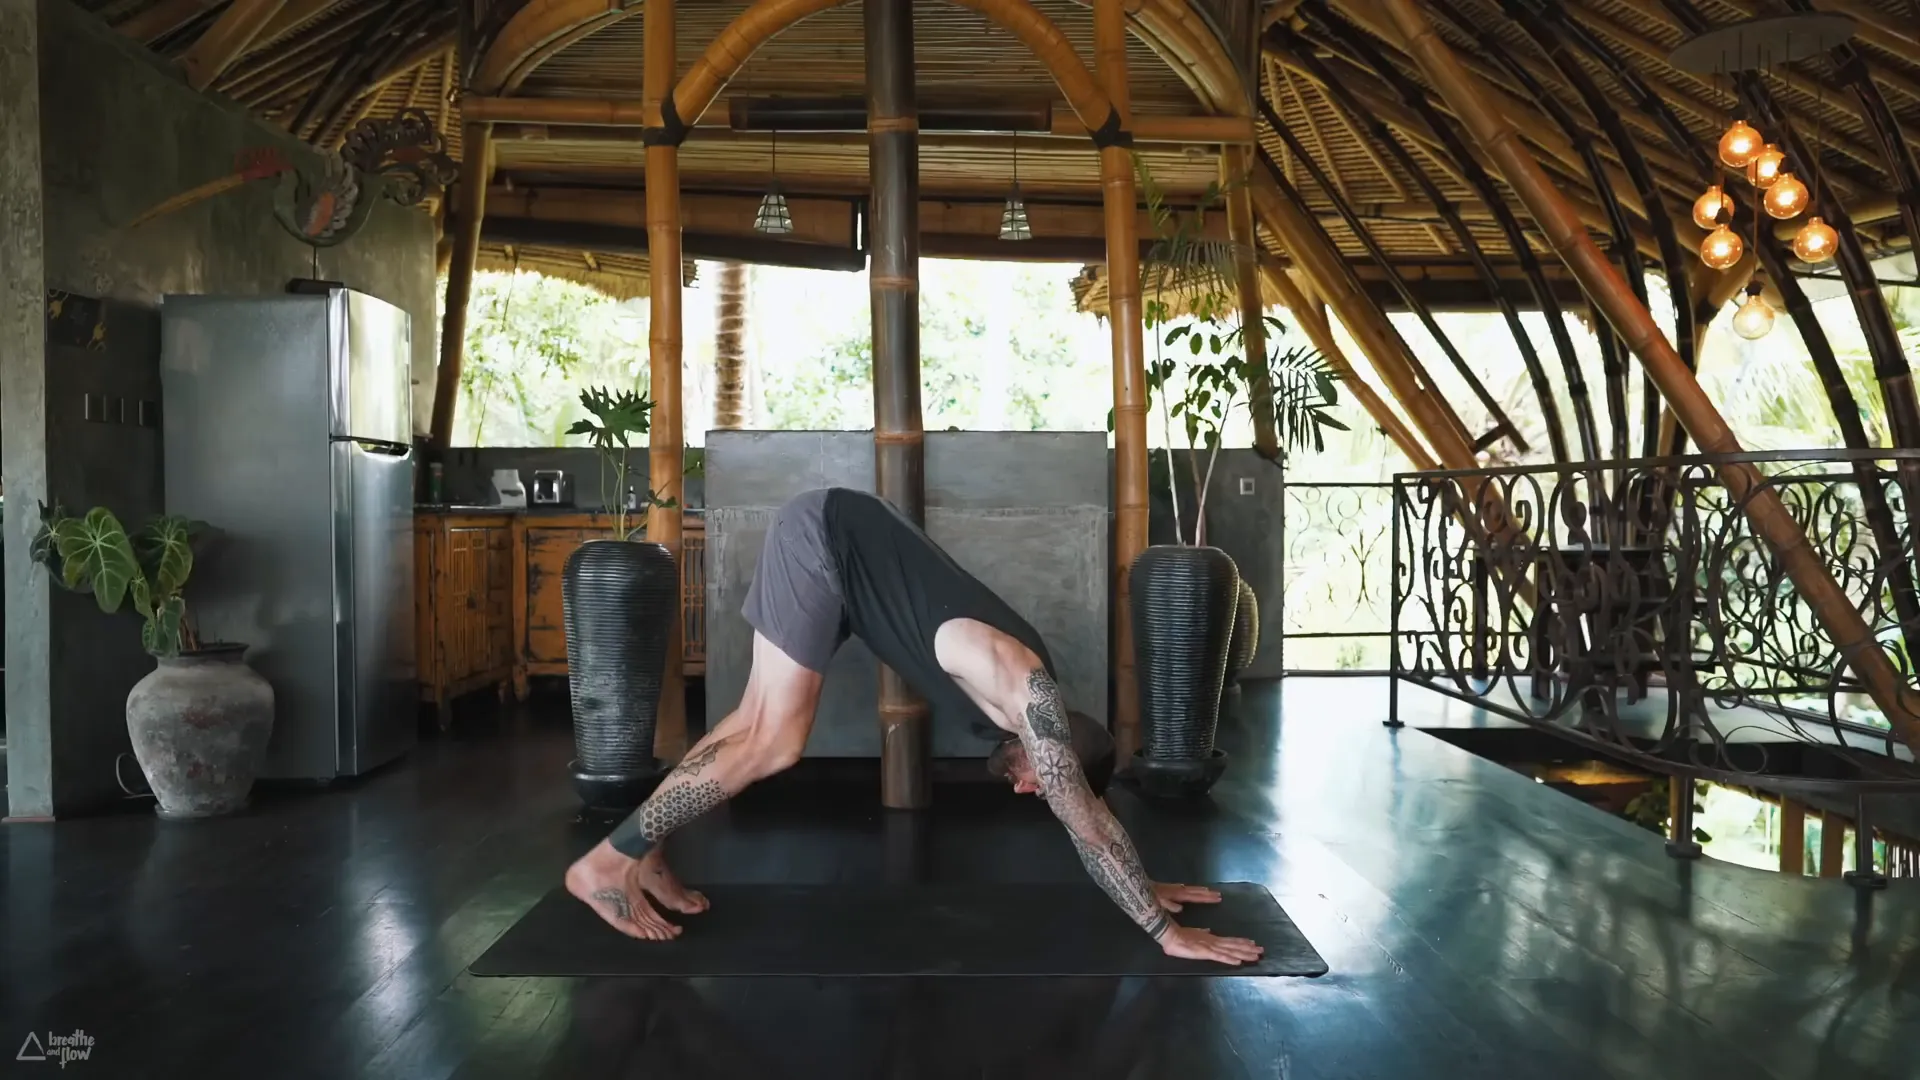
When you get into the posture, you have to pay attention to pressing your fingertips into the floor. You have to feel the line that connects your body and the earth under you. That grounding feeling brings center to your energy and it also helps to enhance your practice.
As you inhale and exhale, investigate the extent of the taunt. You can elect to but your feet, the other heel down to the ground as you bend the opposite knee. This motion not only stretches the legs but also brings a playful aspect to your sequence.
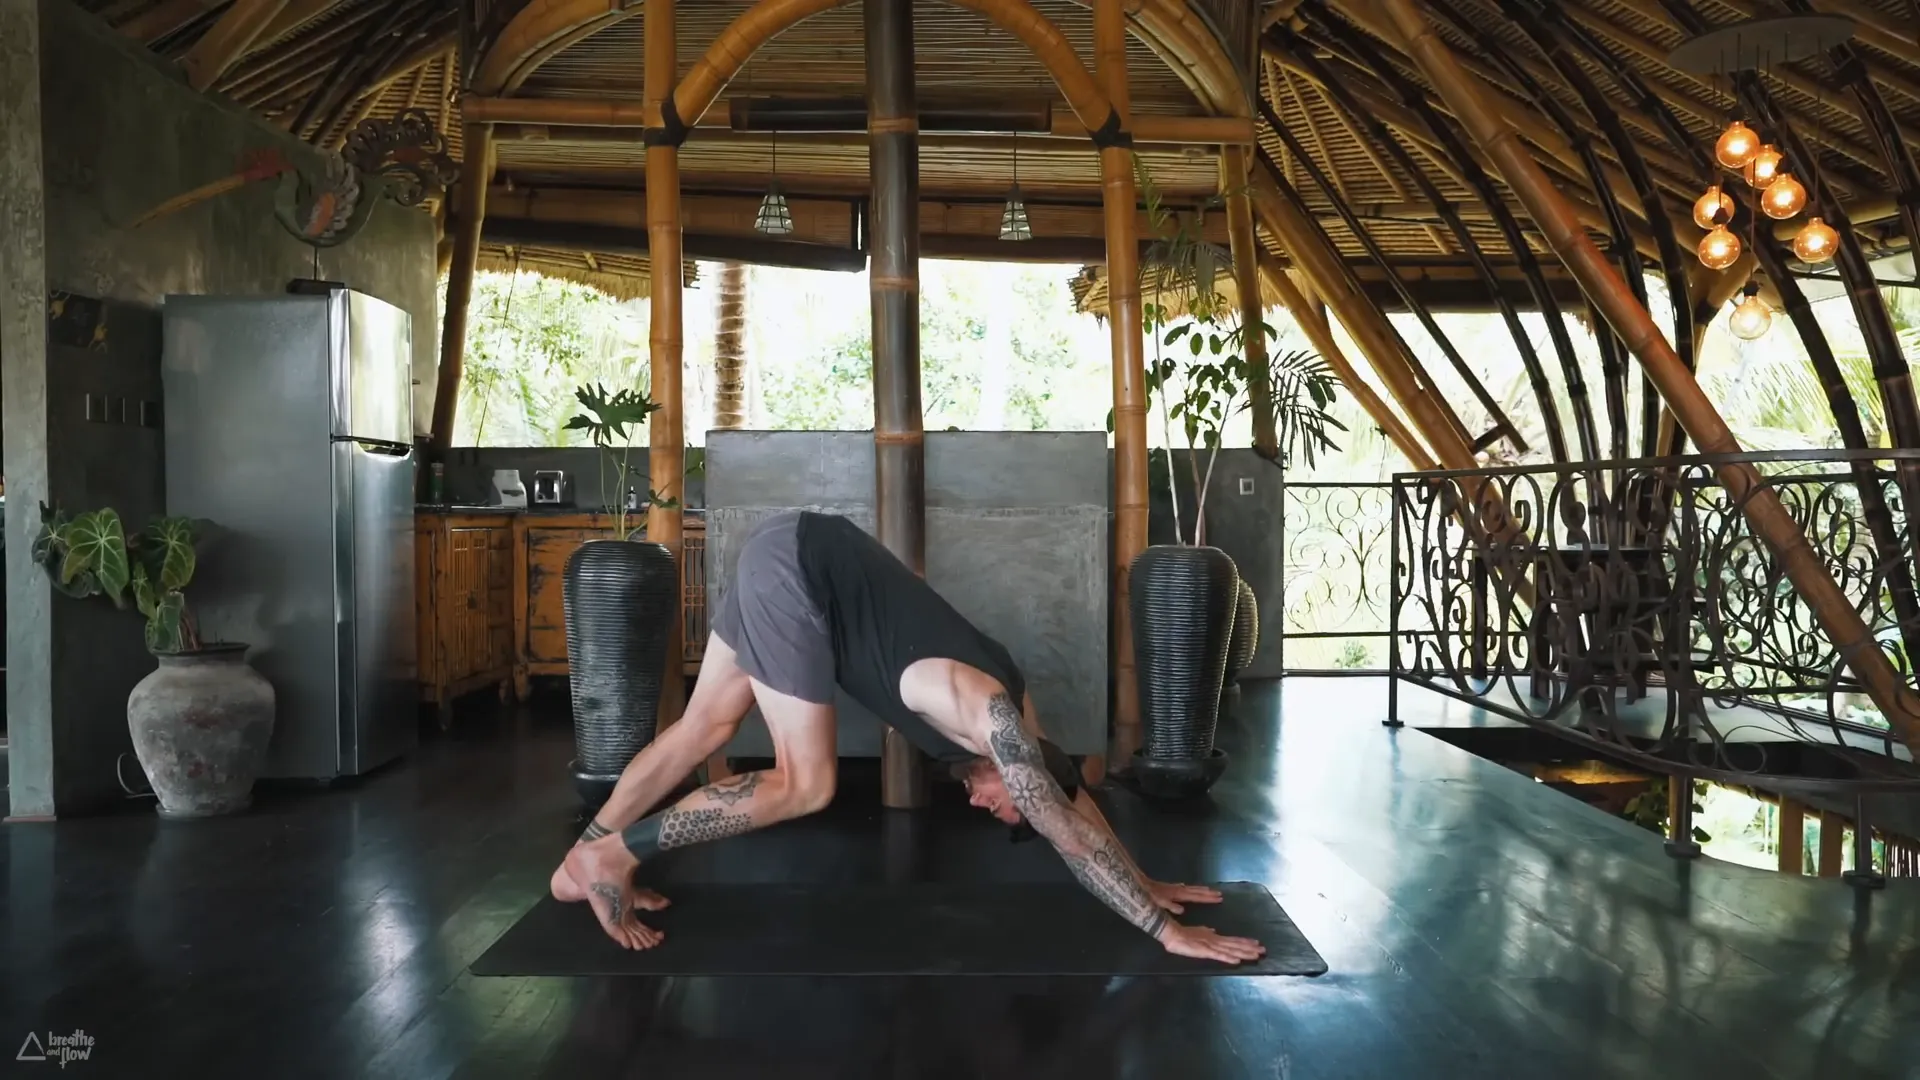
Bear in mind that the downward facing dog pose might be perceived differently by different people. Regardless of whether the balls of your feet touch the ground, what is more crucial here is stretching your spine and pushing your chest into the space between your thighs. Have fun stretching and cherish the time.
Transitioning to Plank Pose
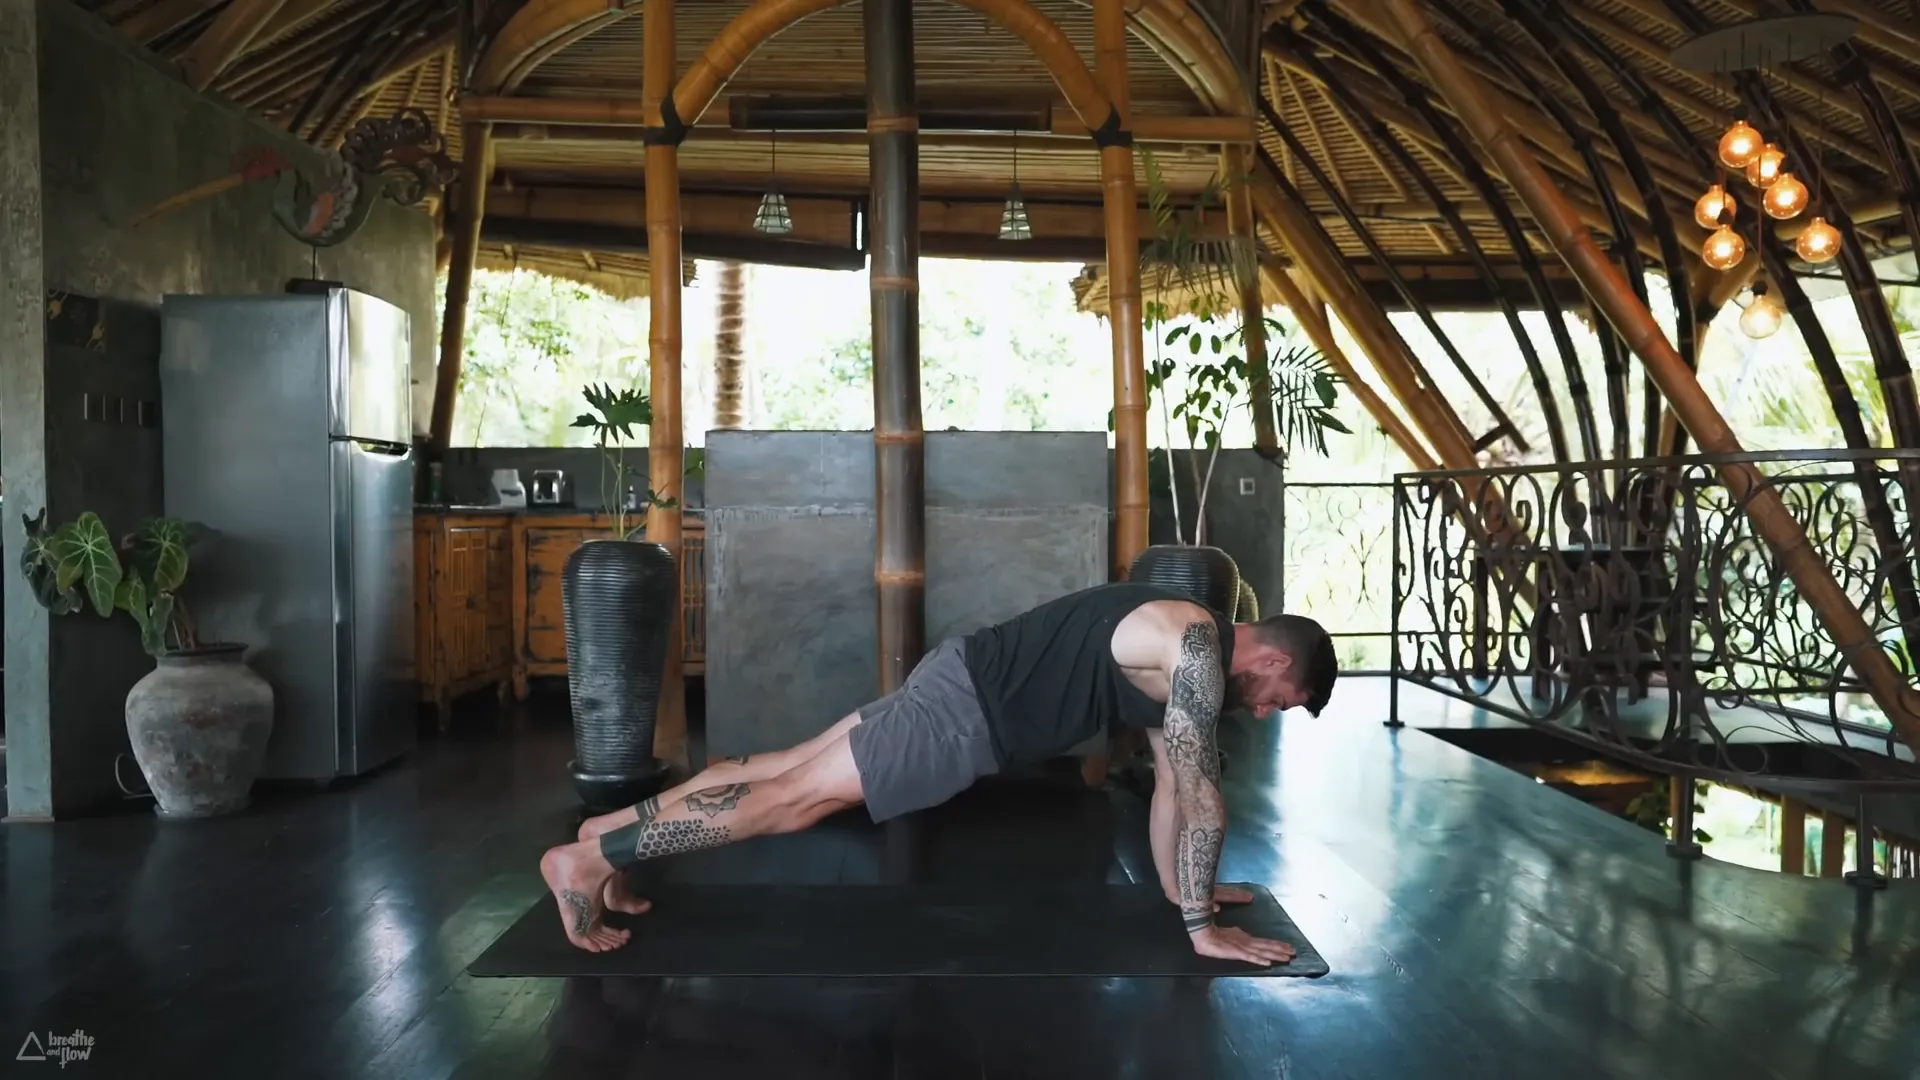
Initiate the movement by rolling your spine and transitioning into a plank posture. Confirm that your shoulders are positioned right above your wrists. Instead of a standard plank that has the body appearing in a straight line, curve your back slightly. Make your hips higher and pull your tailbone in, then push the ground away with your palms.

While you practice this asana, make sure your arms are externally rotated. Your fingertips are digging into the mat, and you are connecting with your breath. You can feel free to put your knees down for a rest if needed. Trying yoga at home gives you the luxury to adapt the speed according to your convenience.
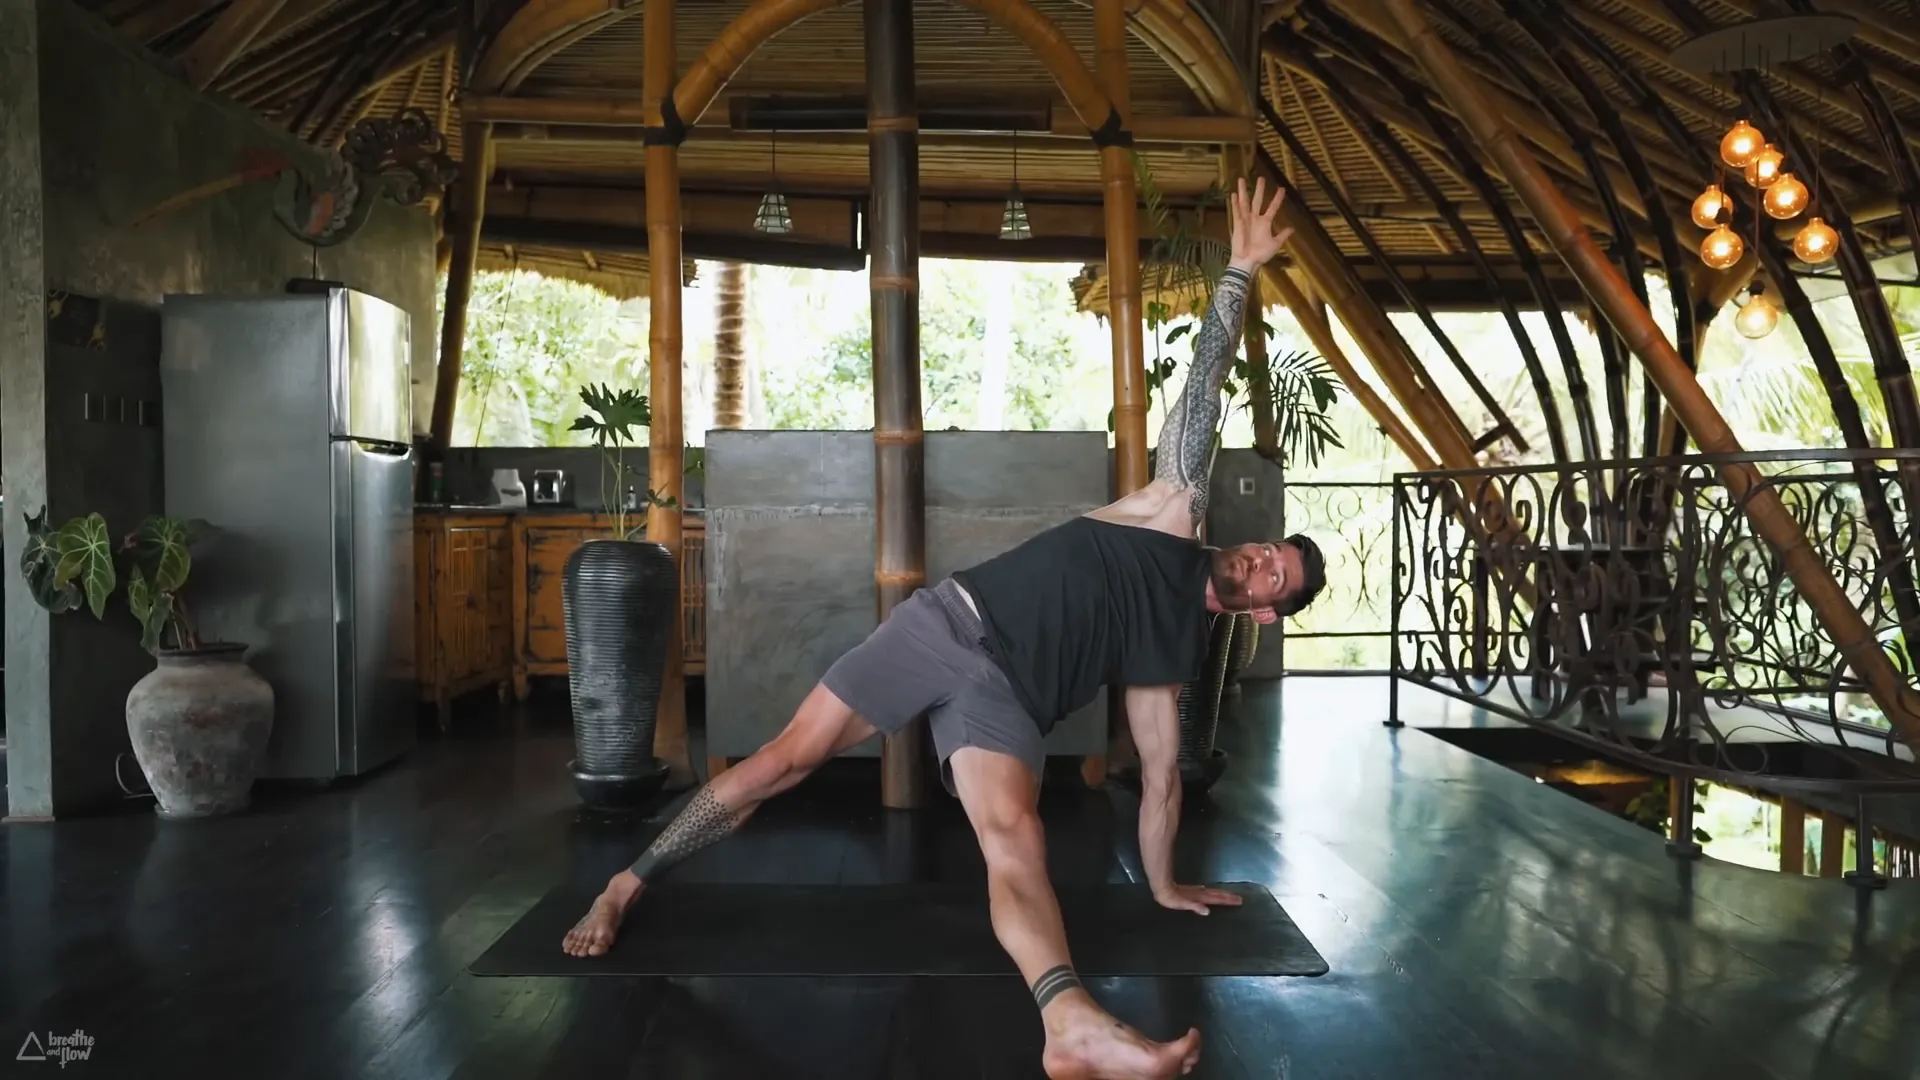
Side Plank and Pyramid Pose
Start from the plank position with your feet together. Move to the knife edge of your left foot to form a side plank. Extend your right arm up and press firmly into your left palm. Engage your glutes and raise your left hip higher, feeling the stretch along your side body.
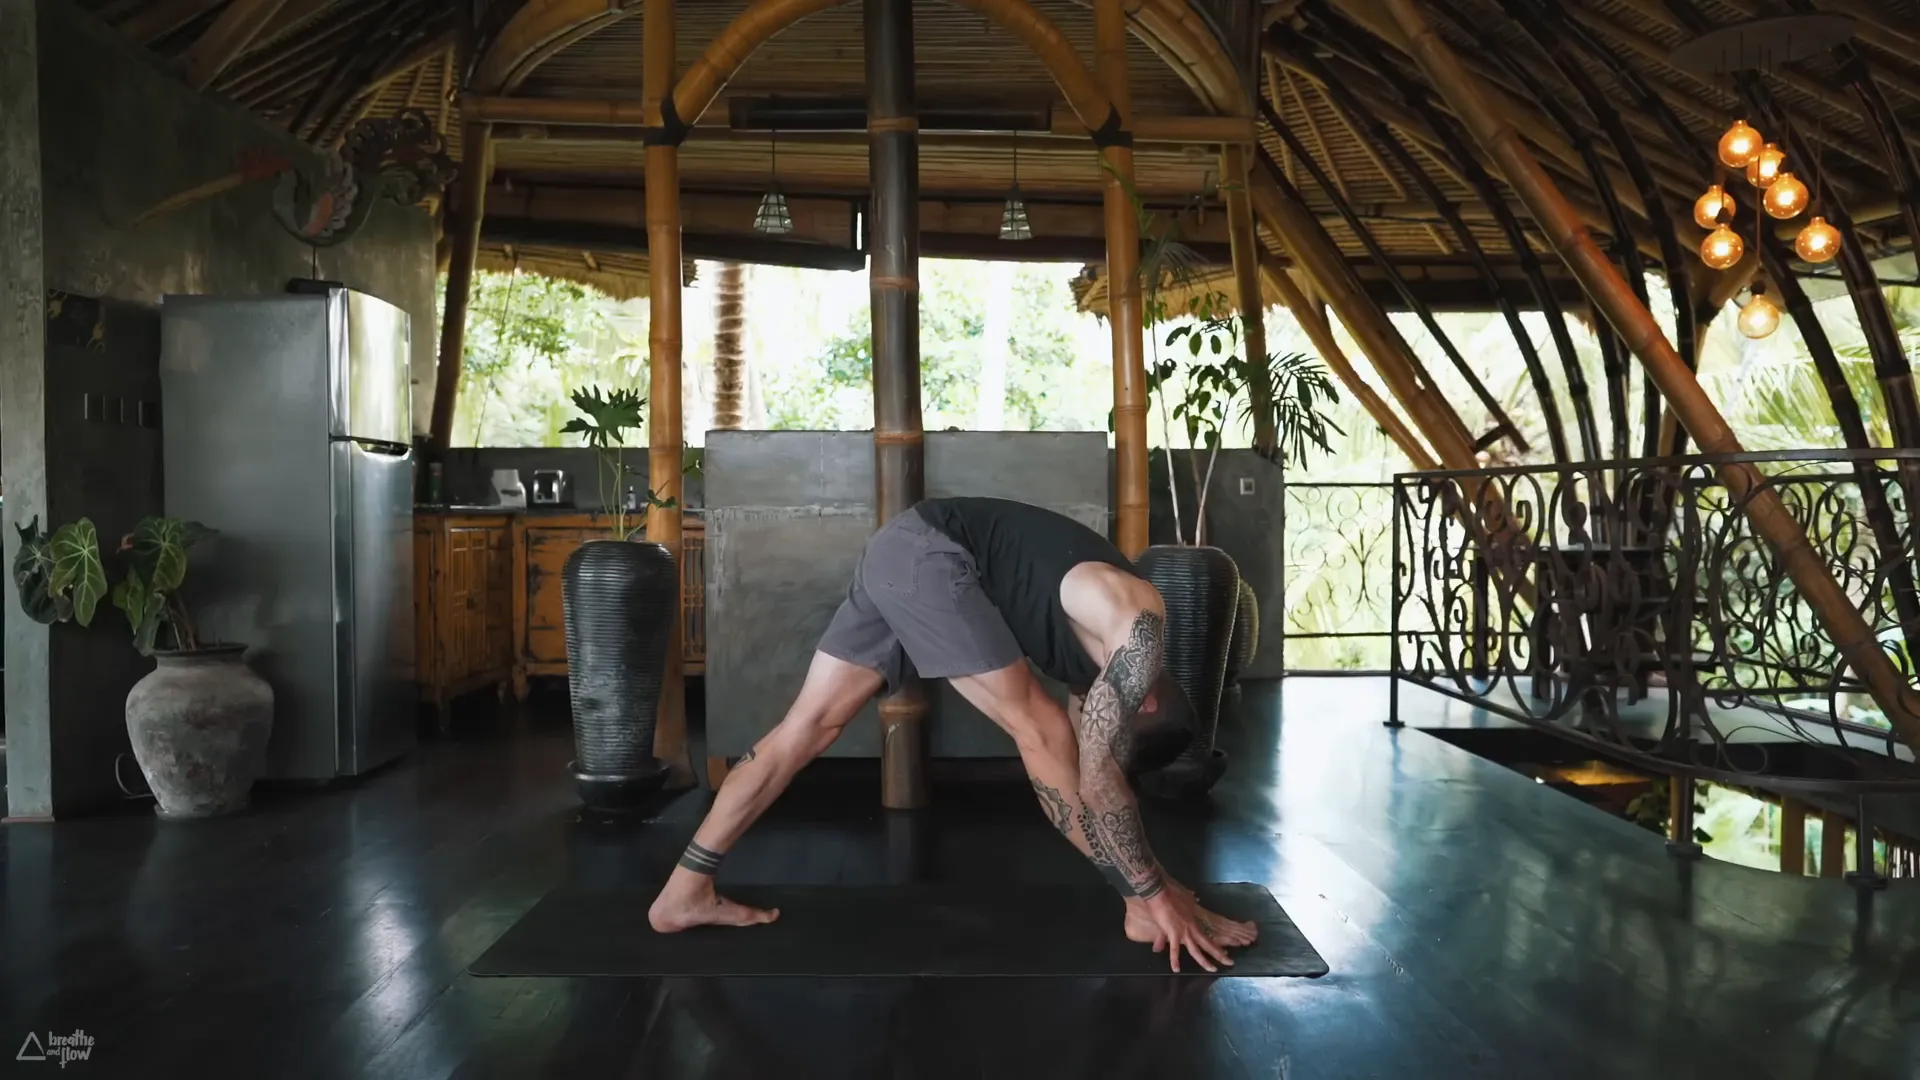
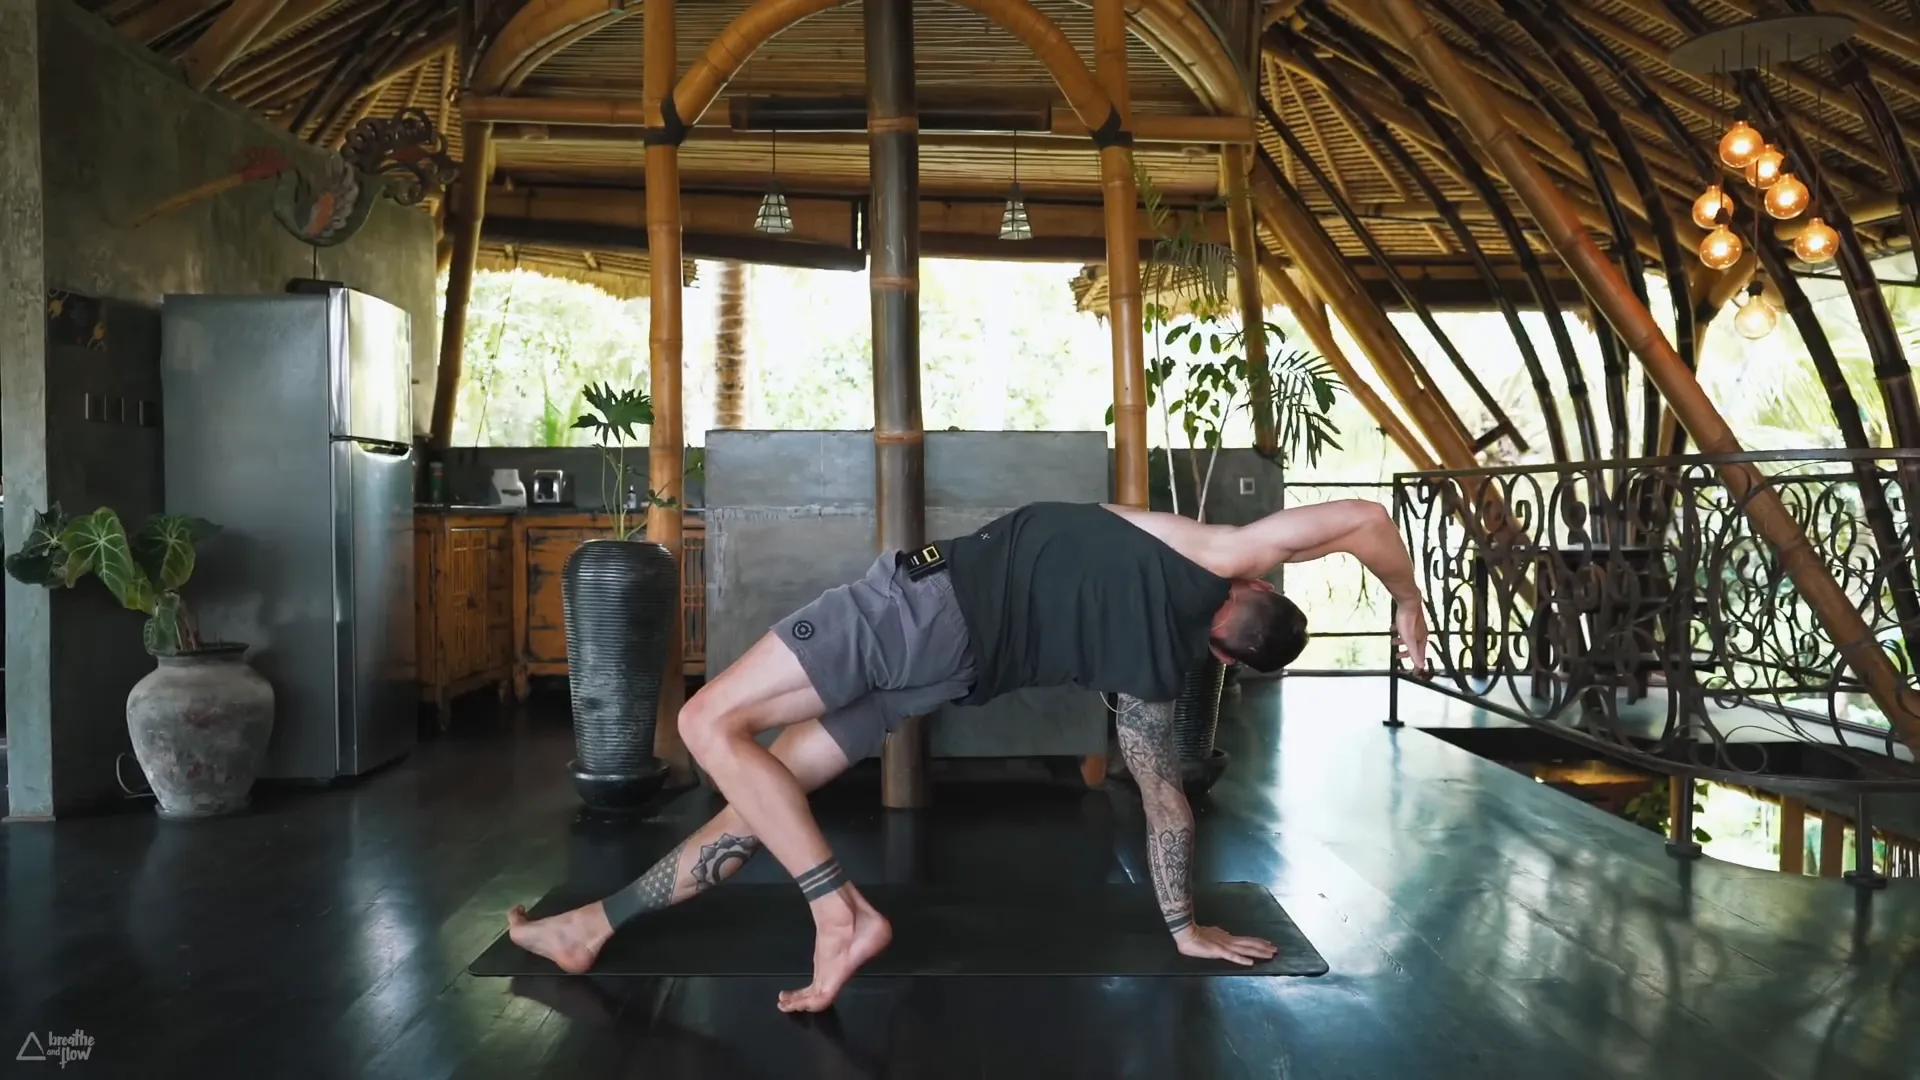
In order to shift into the pyramid position, you have to raise your right foot and bring your knee close to your right armpit. Keep on applying pressure with your left palm and step the right foot forward. Then, you should shorten your stance, and straighten both legs, remembering that your heels need to stay on the ground.

In the pyramid pose, you can place both fingertips on the floor or use your shins as support. Draw in a deep breath and stretch along your backbone and then exhale as you lower forward by slightly pulling your right hip towards the back. Experience the tension in your right hamstring and inhale it.
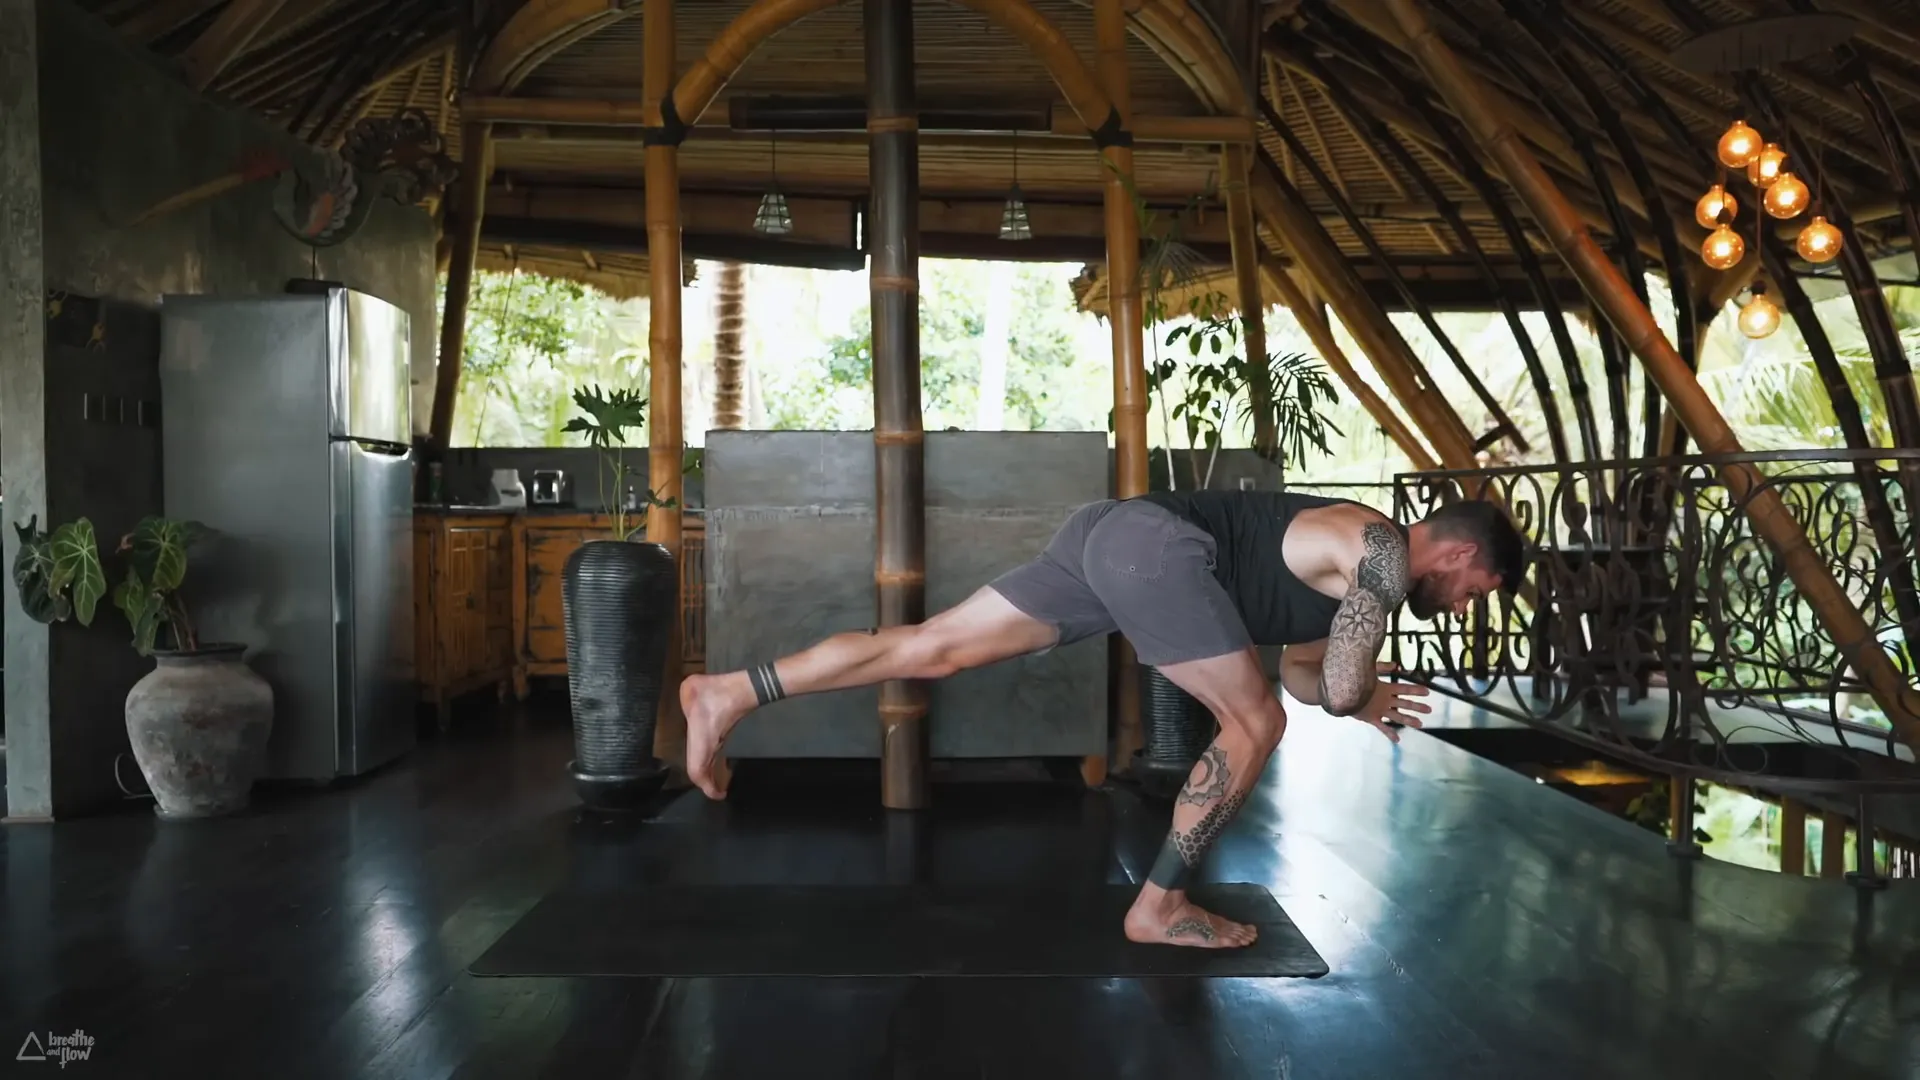
Warrior Three Challenge
With your right knee bent and your weight shifted forward, you are ready to pose the Warrior Three. Now lift your left leg back and join your palms together in front of your heart. Extend forward from your hip, stretch your spine forward and your left heel backward.
Maintain your right leg solid and let your left hip come down. It is essential to spend some time finding balance, and genuinely experience the link between breath and movement. When you feel your right glute kicking in, that is your body signaling that you've got it right.
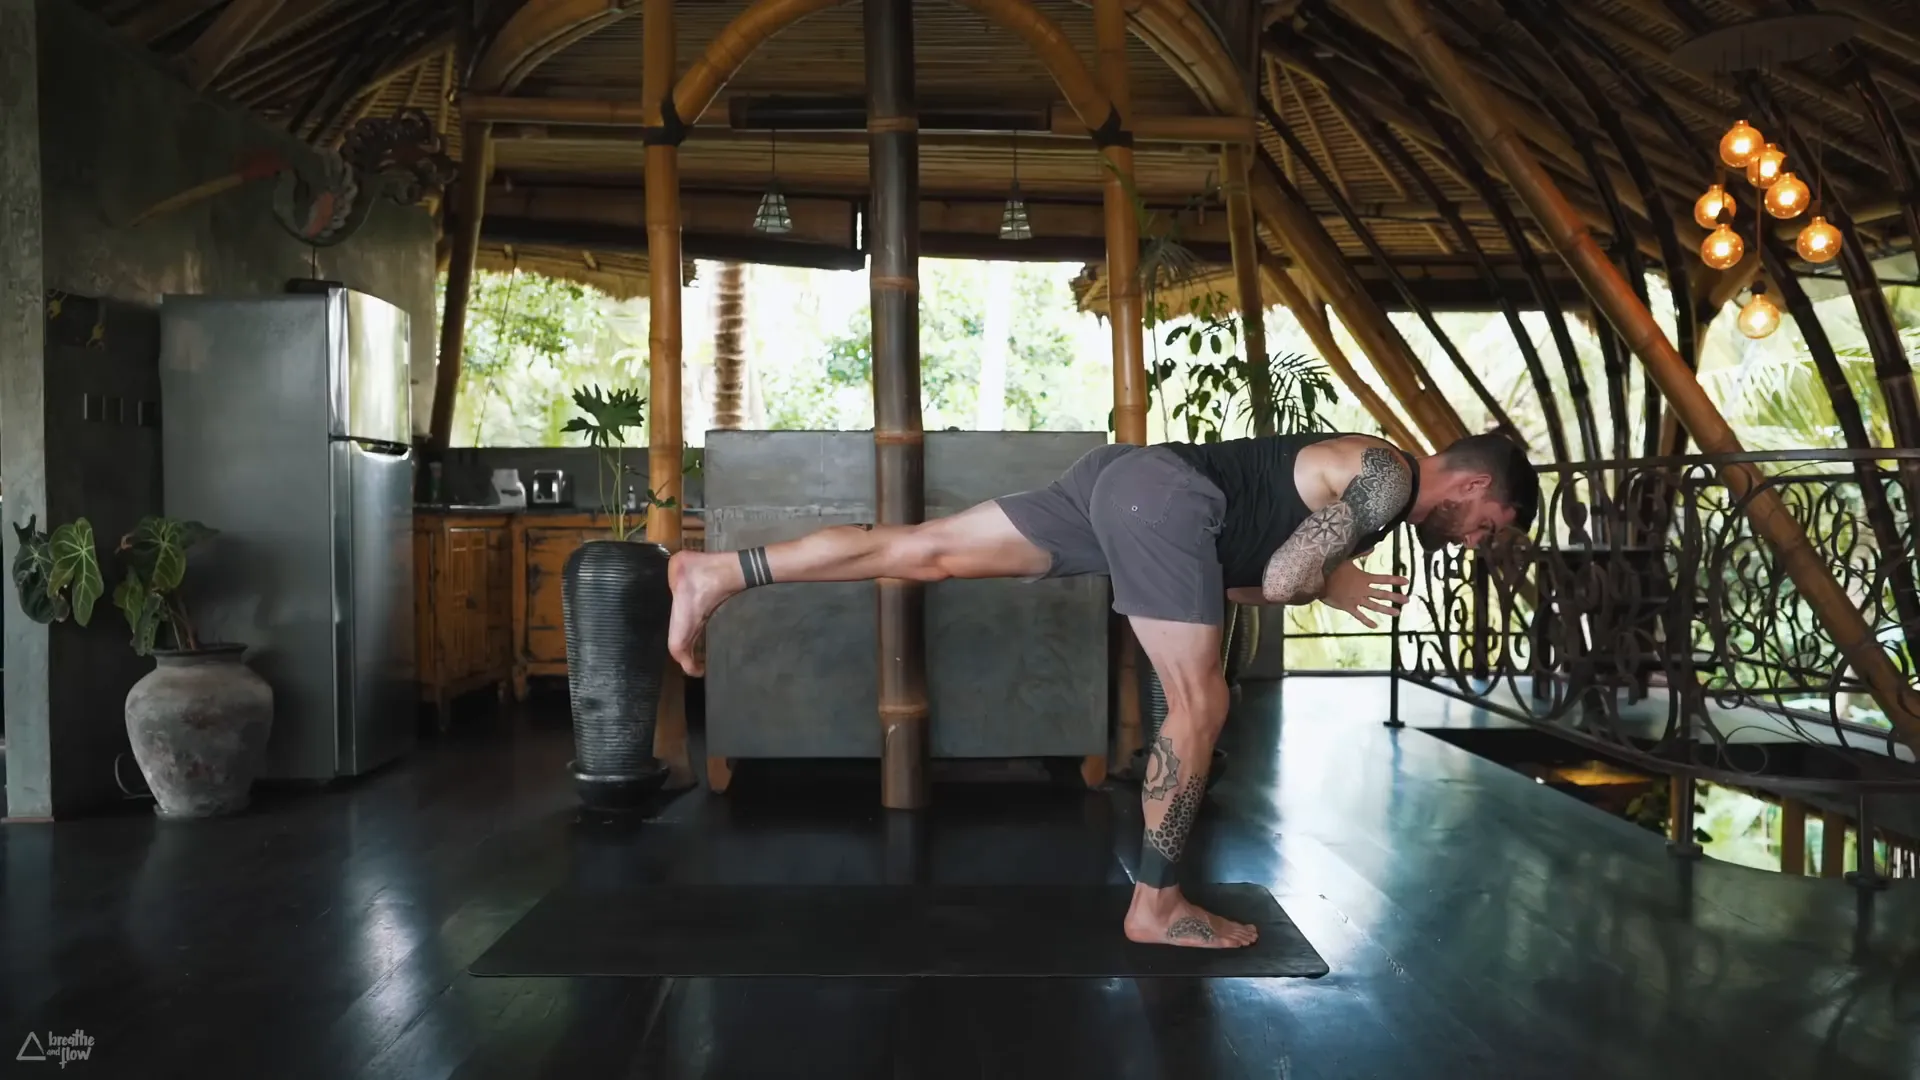
To make it even more challenging, first bend your standing leg slightly and then again straighten it. Carry out this step five times while keeping your breath slow and steady.
Spider Lunge Variation
Transverse your left foot back towards the left side into a spider lunge. Your left knee bends and your right leg straightens, but both of your heels are still touching the ground as your hips are high. This modification provides you with a chance to feel the exercise more in your left thigh.

Now, draw your left ankle behind the right one and lean forward, taking care of your knees to prevent hyperextension. Let yourself be in the pose and breathe deeply a few times.
Starting from this position, shift your left foot to the right without pushing it back or forward. Elevate both feet onto the knife edge while maintaining your left fingertips on the floor and extending your right arm upwards.
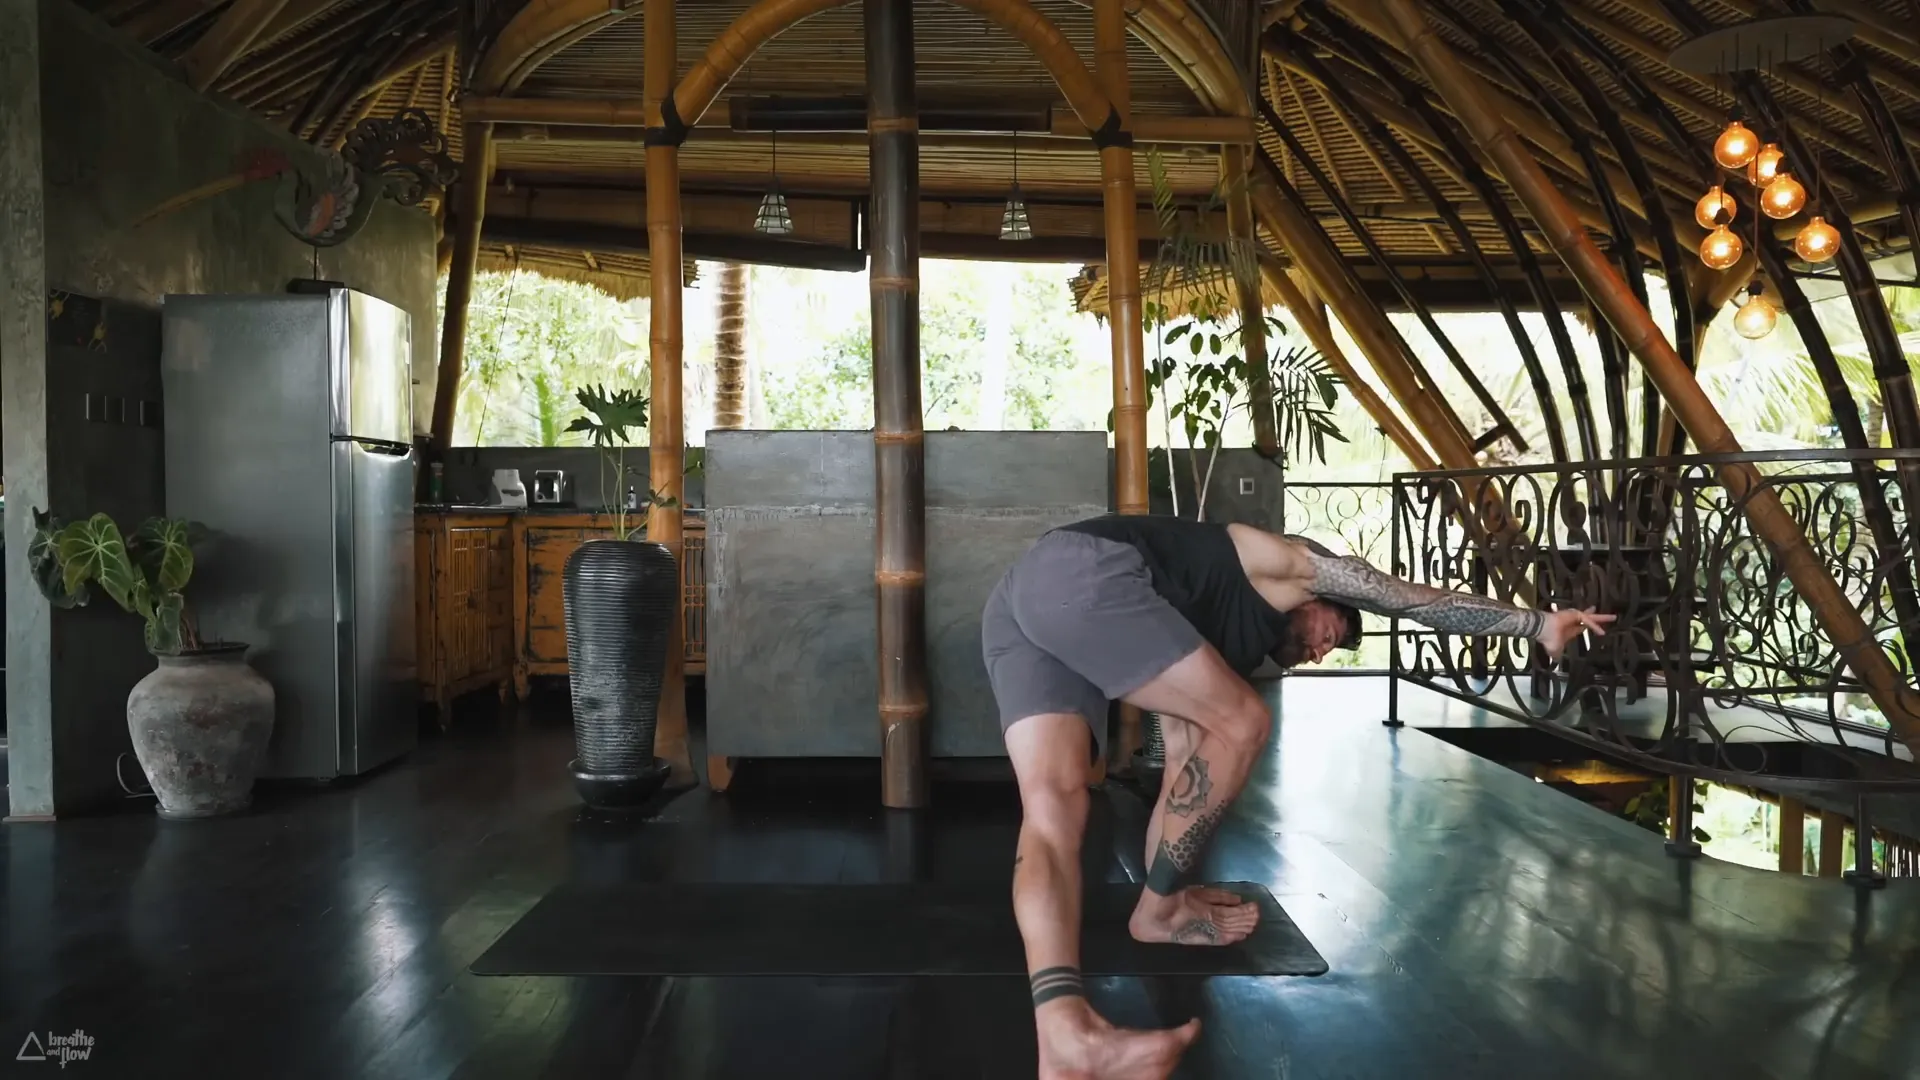
Funky Hip Openers
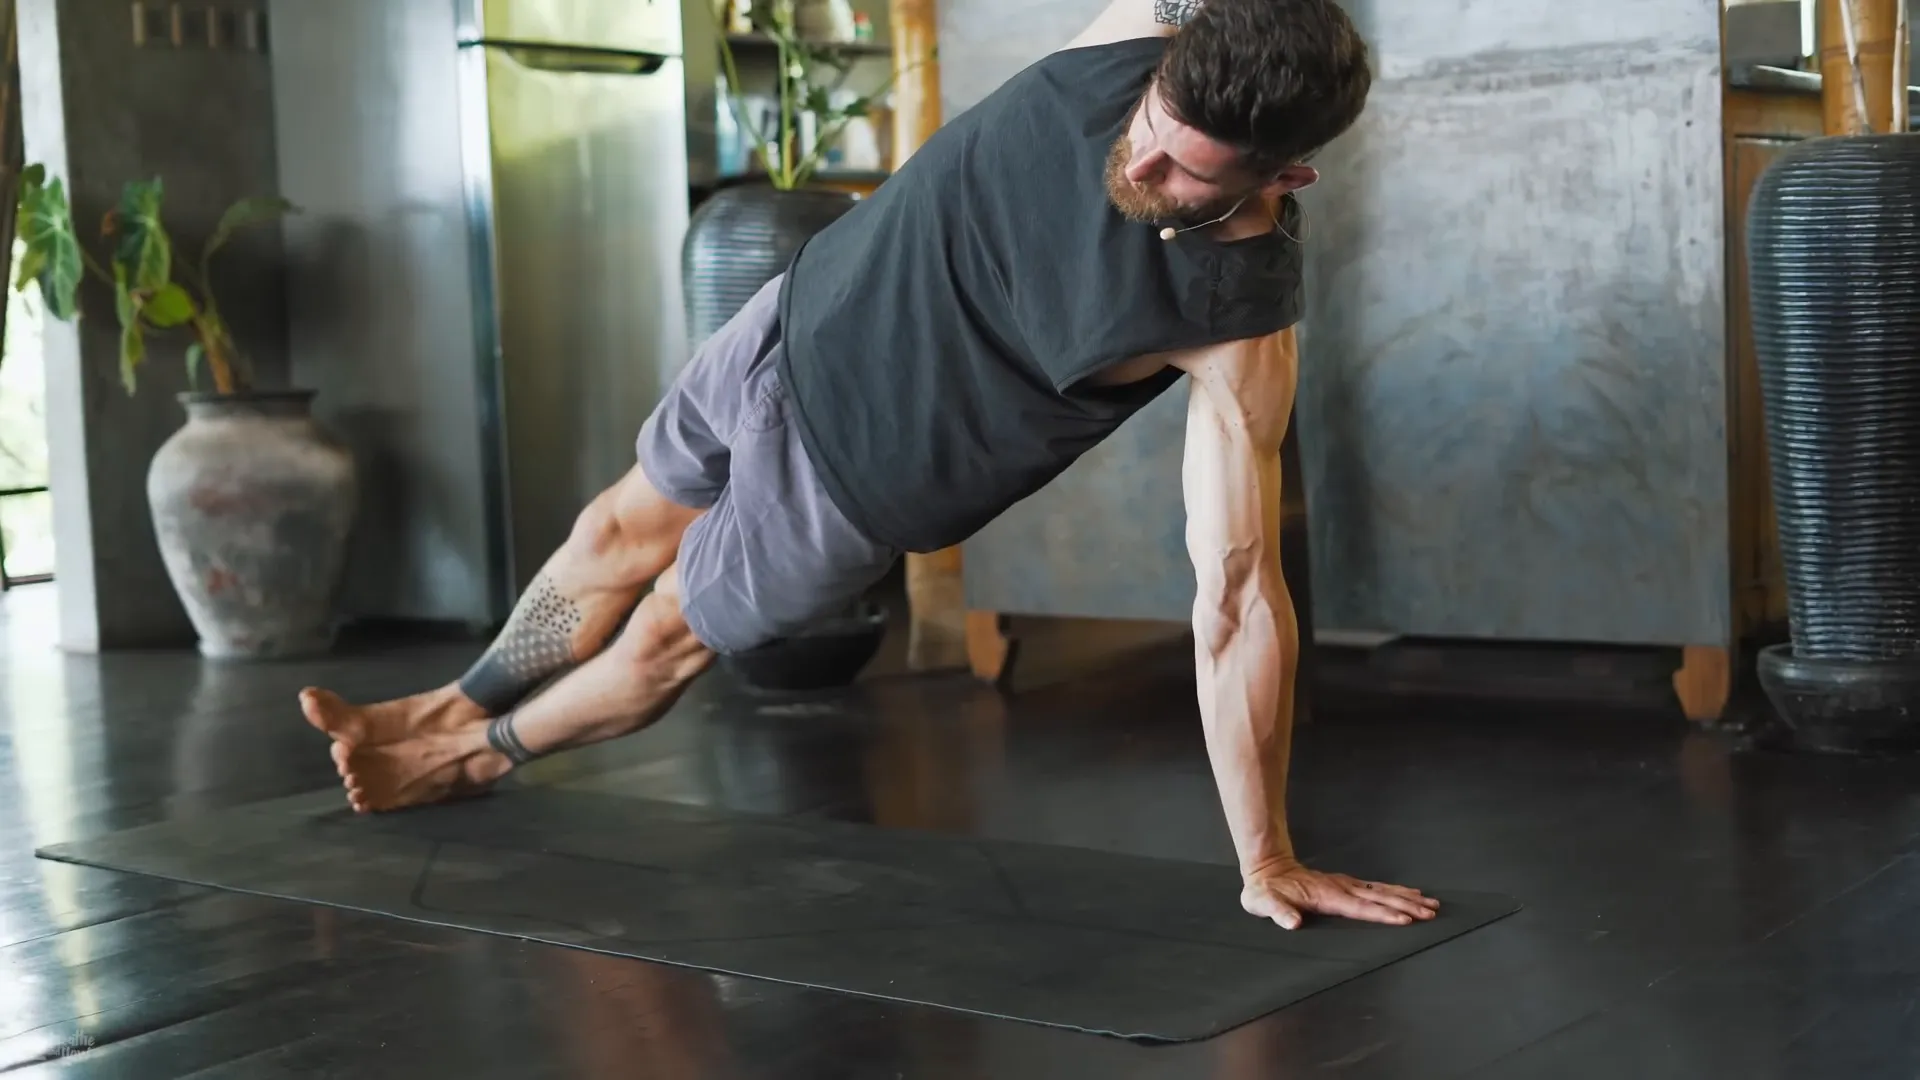
As soon as you attain the confidence level and no longer feel the tension in your body, you should stretch your right leg. Inhale in the direction of the right outer glute and hip. You will also do the twist of the chest to the right in a way that it will create the volume in your body.

As a first step, put your left palm on the ground to hold yourself steady. Gradually, transfer your weight into your left palm while extending your right arm towards the ceiling, which is the position you will take for the transition.
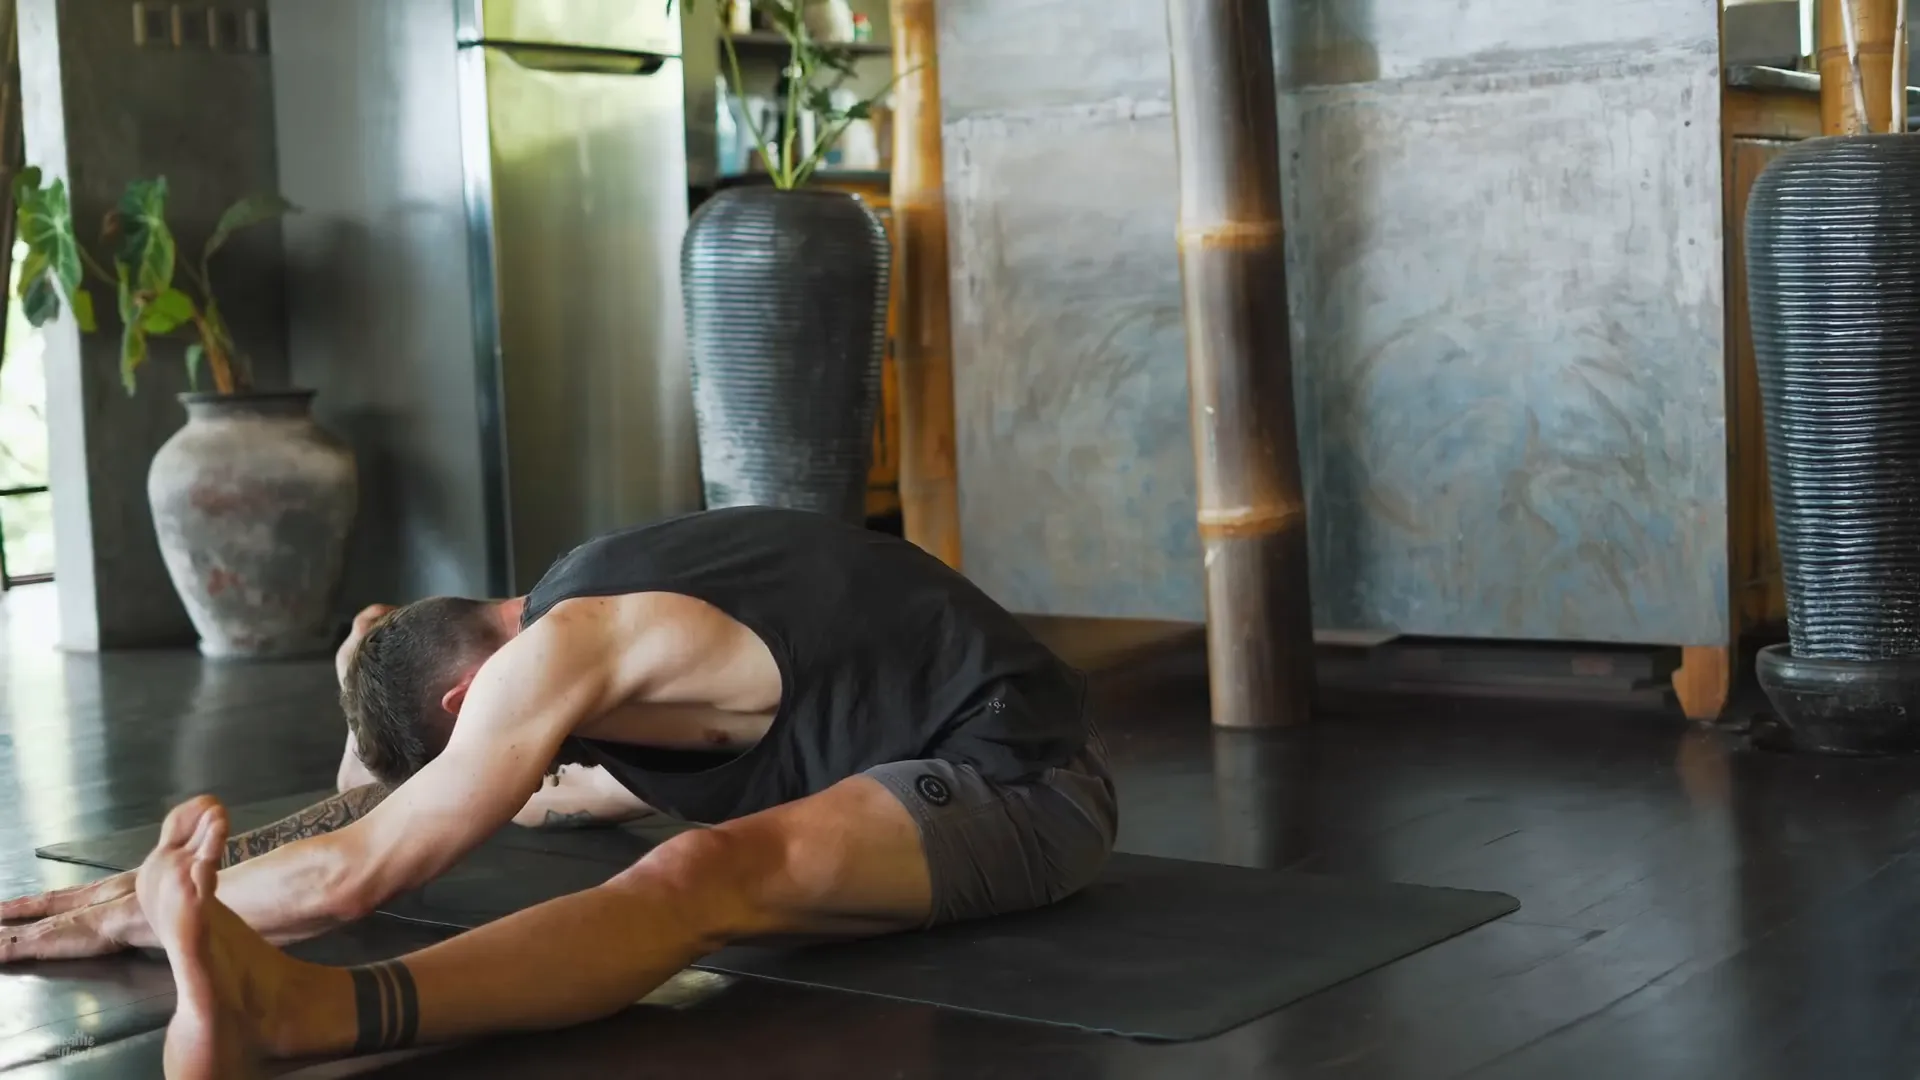
Seated Straddle Forward Fold
Jumping from the original position, you can take a step back with your right leg for a wild thing or starfish pose. At the same time, you should lift your hips and stretch your right arm upward. Staying in balance is very much dependent on the way you work your glutes here.
Lower down your hips and exhale, keeping your legs straight. Take a deep inhale as you stretch both of your arms overhead reaching the sky, and then exhale bending forward into a seated straddle. Rest and allow the pose to be easy, to surrender to the current moment.
Hold on to this forward fold for some time, at least a few inhales, and be aware of the gradual letting go of your body's tension. As you breathe out, visualize yourself getting deeper into the stretch.
Exploring Wild Thing Pose
To go back, you need to first sit straight and keep your left hand adjacent to your left hip. Then, you have to lift your hips back with the starfish position, rotating both feet to the left. While you do this, stay in a strong position as you push firmly into your left palm.
This time you will start by bringing your right hand to the floor and getting ready for a wild thing again, now extending your left leg behind your right calf. By pressing down through your right hand and actively using glutes, you will be able to lift your hips as high as you can while you are stretching your left arm overhead.
At last, reposition to the starfish pose by first bringing your left hand down and then extending your left leg beneath. After that, you need to stretch your right arm out and press against with your left palm, becoming the preparatory position for a one-leg plank pose.
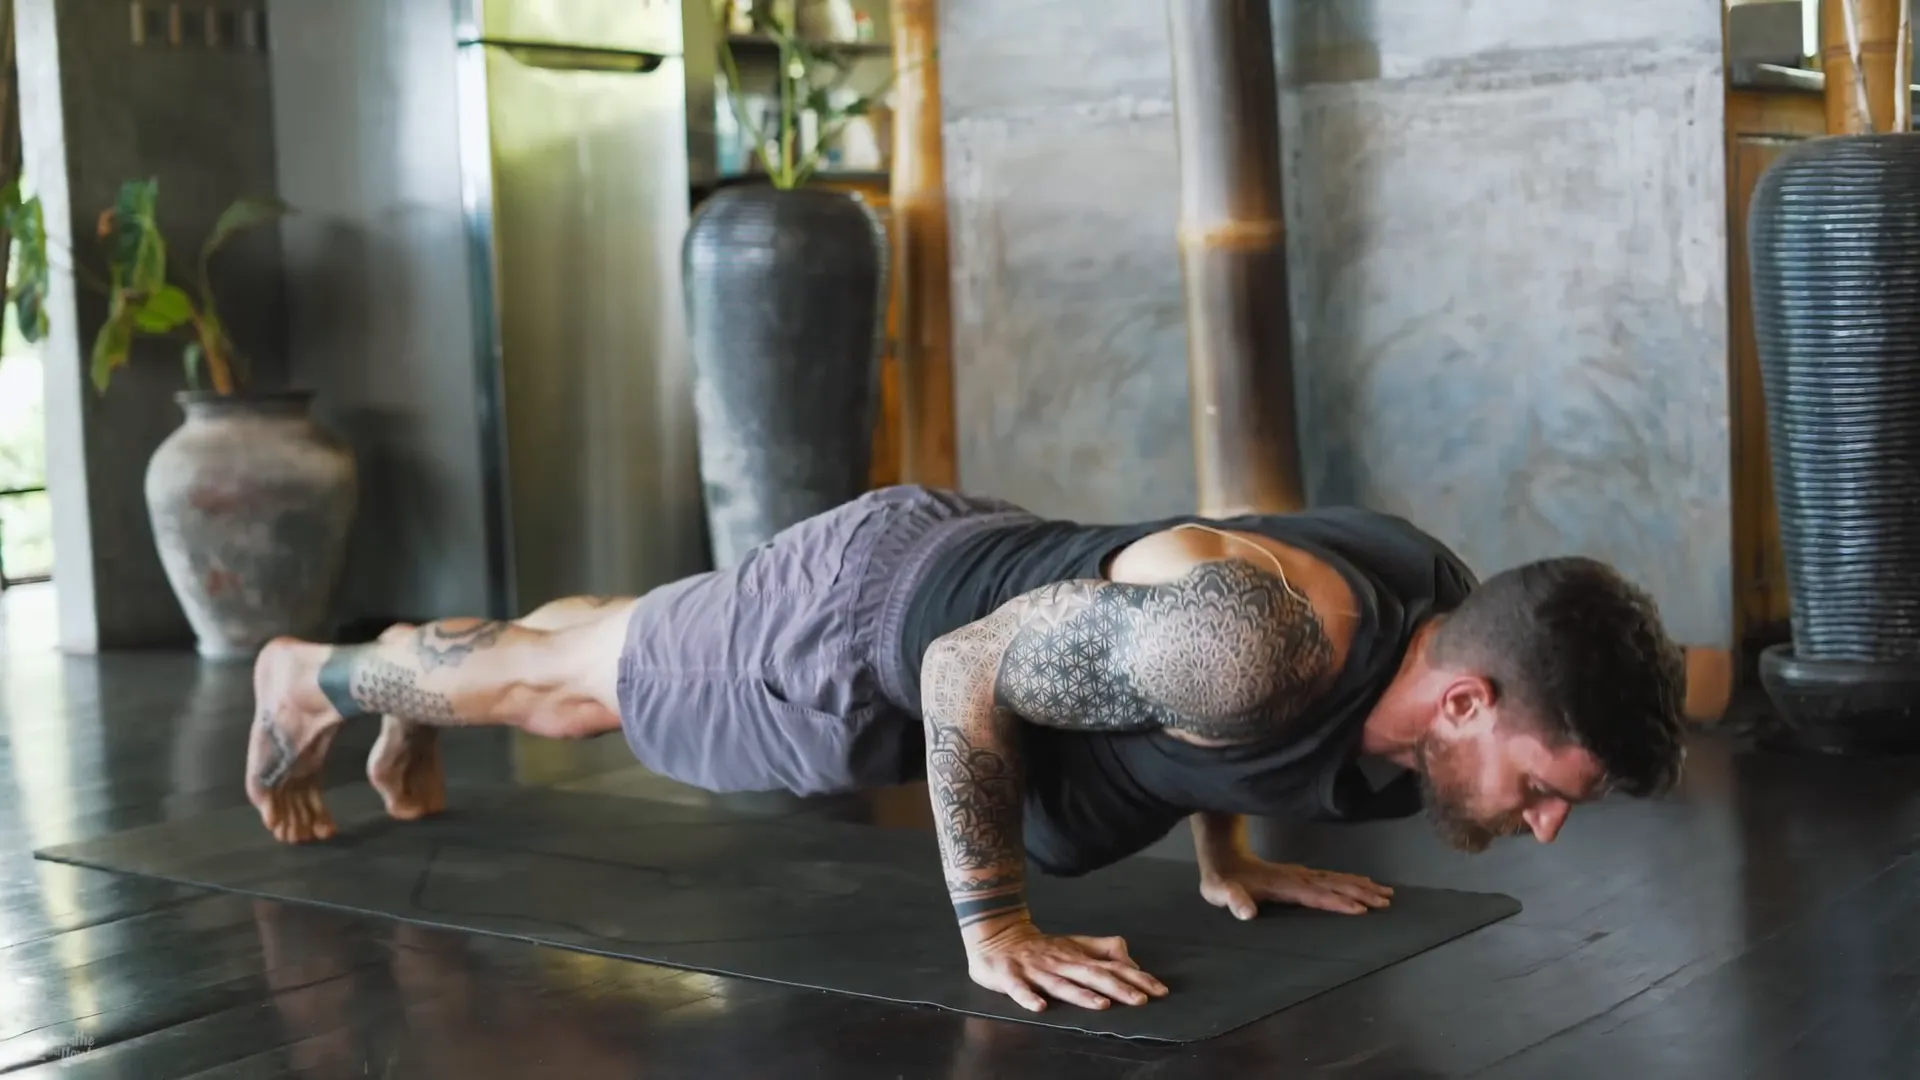
One-Legged Plank and Chaturanga
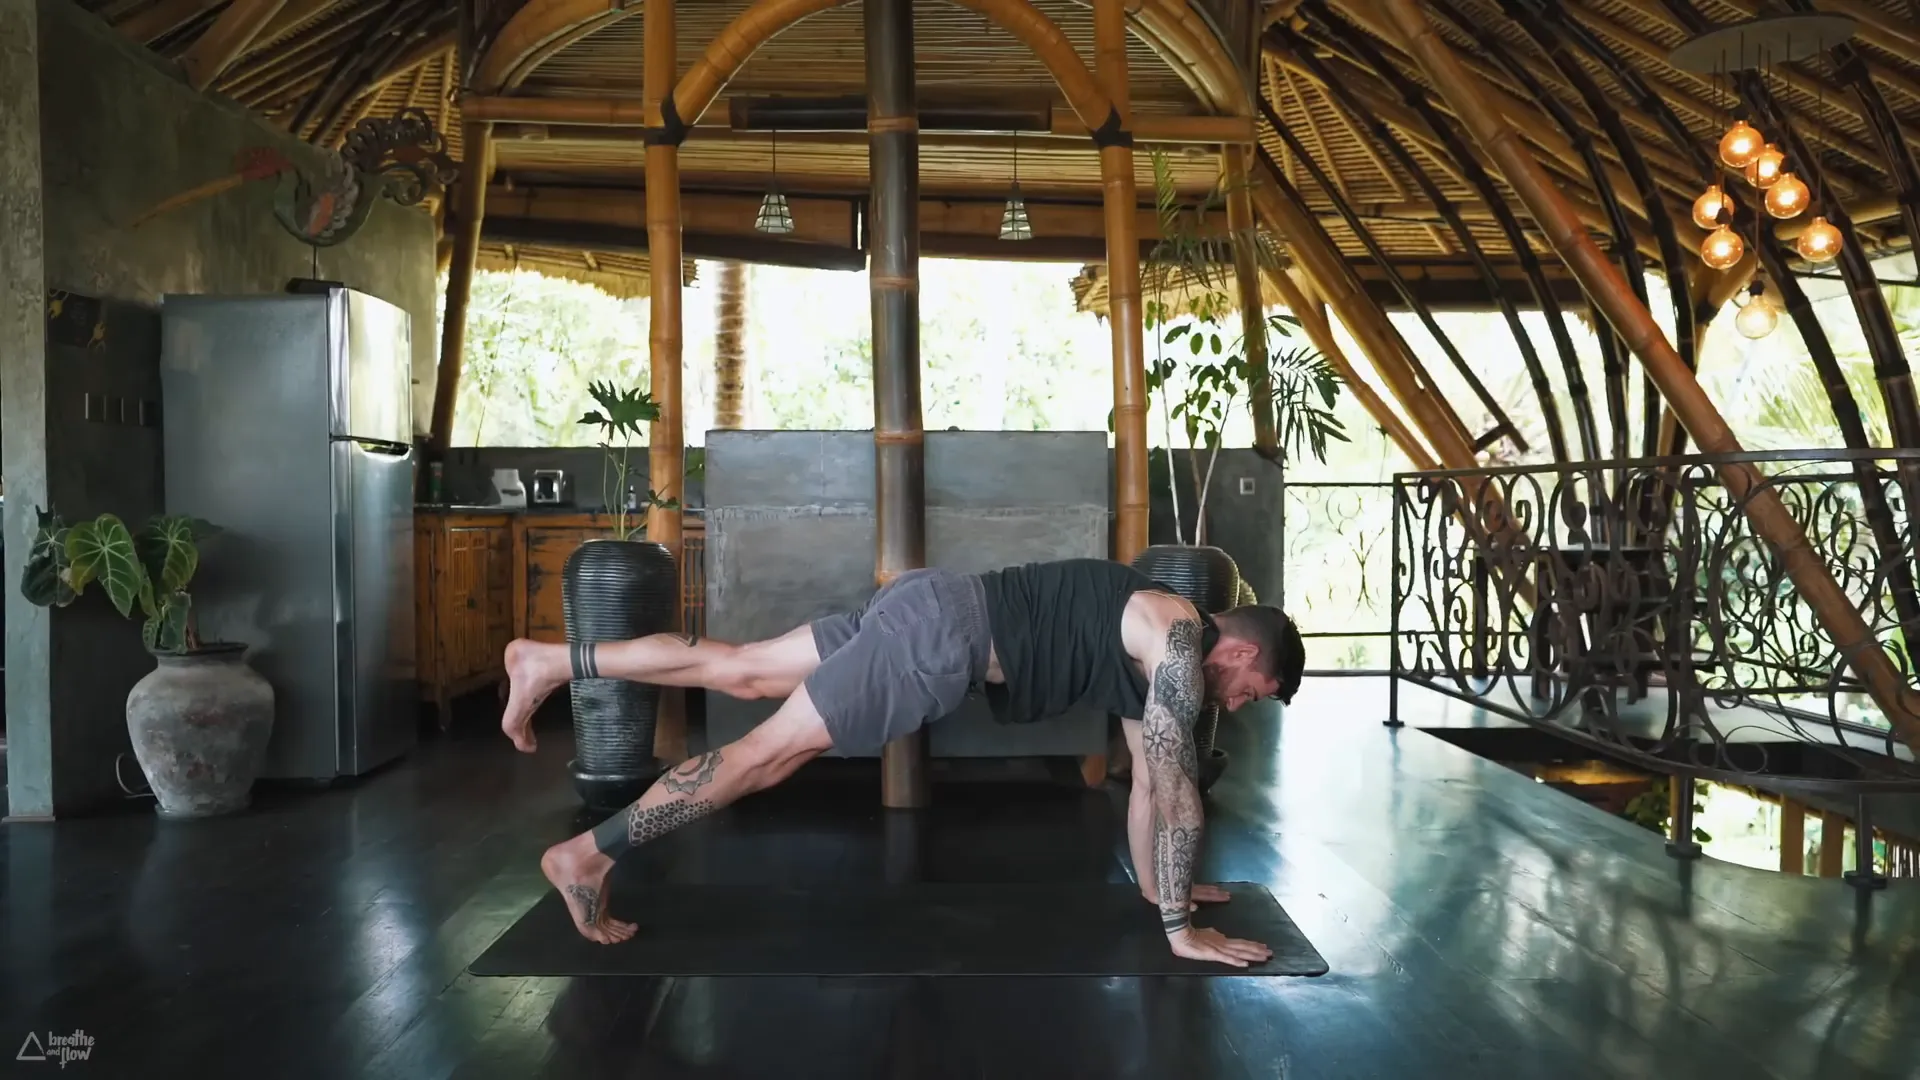
When you hold a solid plank position, you can add a one-legged plank to challenge not only your balance but also your strength. Push your palms into the ground and rise your right leg towards the sky while lifting your hips. This not only involves your core but also helps in strengthening the lower back and stability as a whole.

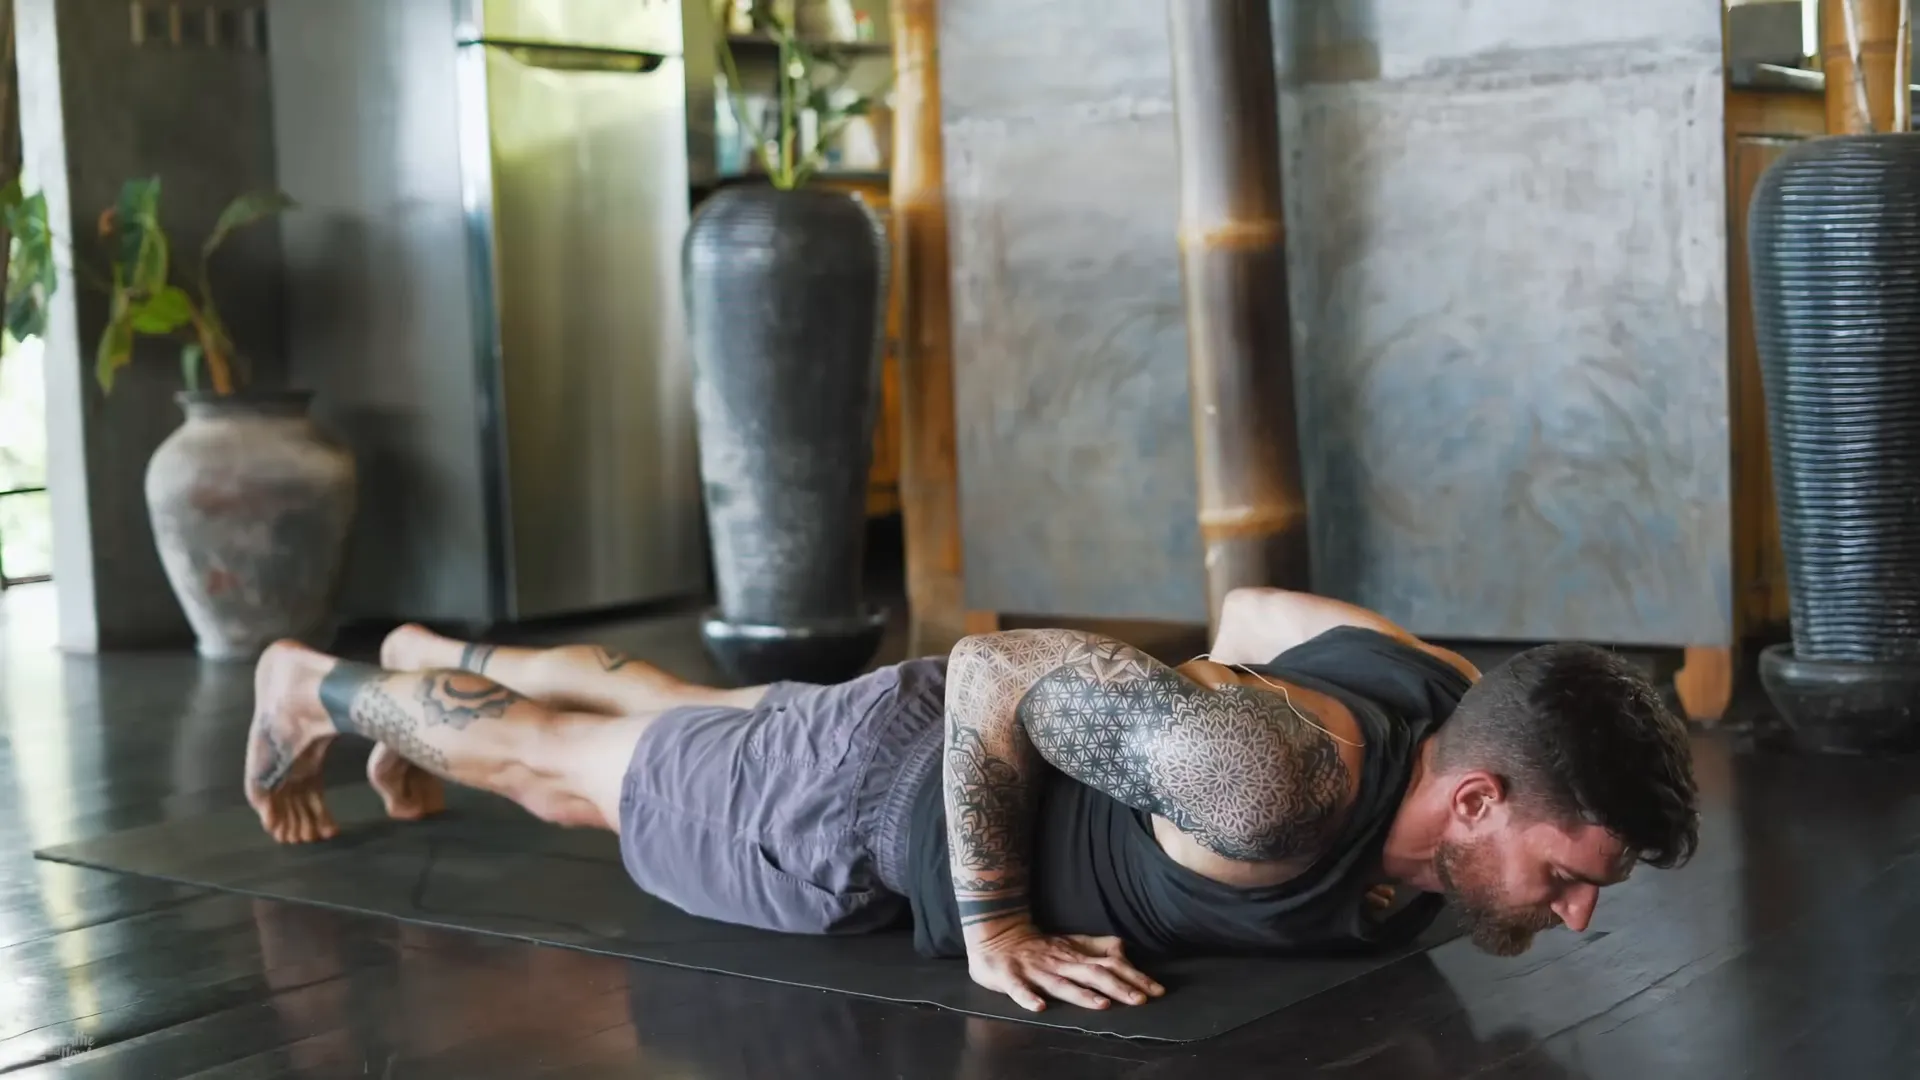
Hold your breath while you are in this pose. Concentrate on the action of detaching the ground and shoulders maintain their position over your wrists. After a few breaths, obediently drop your right leg and get into Chaturanga posture. Inhale, come forward, bend your elbows and as you exhale straighten your ribs and pull up. This action implies balance and power, hence, preserve a line as you ease down.
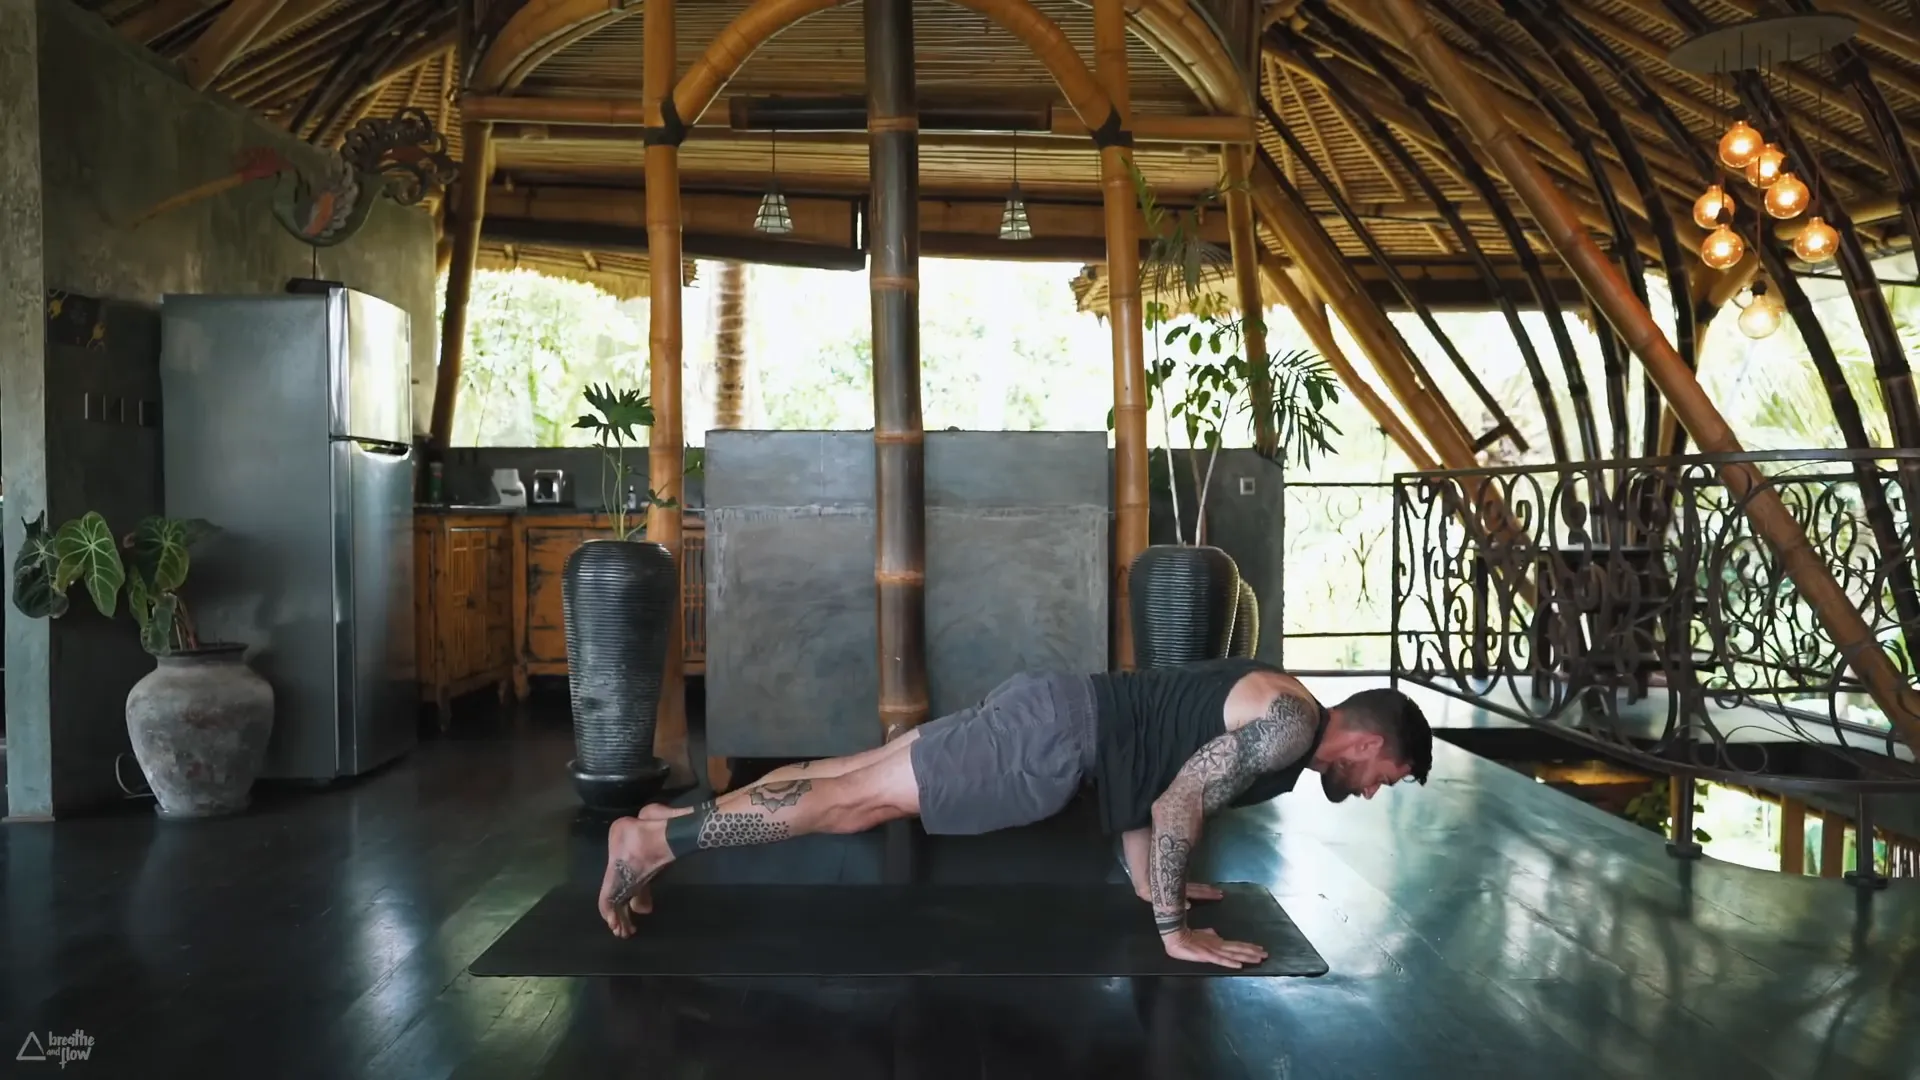
After reaching the lowest position, you must push back into the plank position and repeat the same sequence. The flow is focused on building the upper body strength, which is essential for any yoga practice for men.
Cobra Pose and Transitioning
Following Chaturanga, crawl your hands along the mat and move to Cobra pose. Push your chest into your palms while arching your body, and keep your elbows slightly bent. Squeeze your glutes and open your heart while keeping your shoulders relaxed away from your ears. This asana stretches your spine and tones your back, therefore, it is a must in any yoga practice.
Take Cobra pose while maintaining long and deep breaths. As you inhale, expand your chest and as you exhale, let go of the lower back tension. Lift your hips and straighten your arms to perform the transition to Downward Facing Dog without breaking the flow.
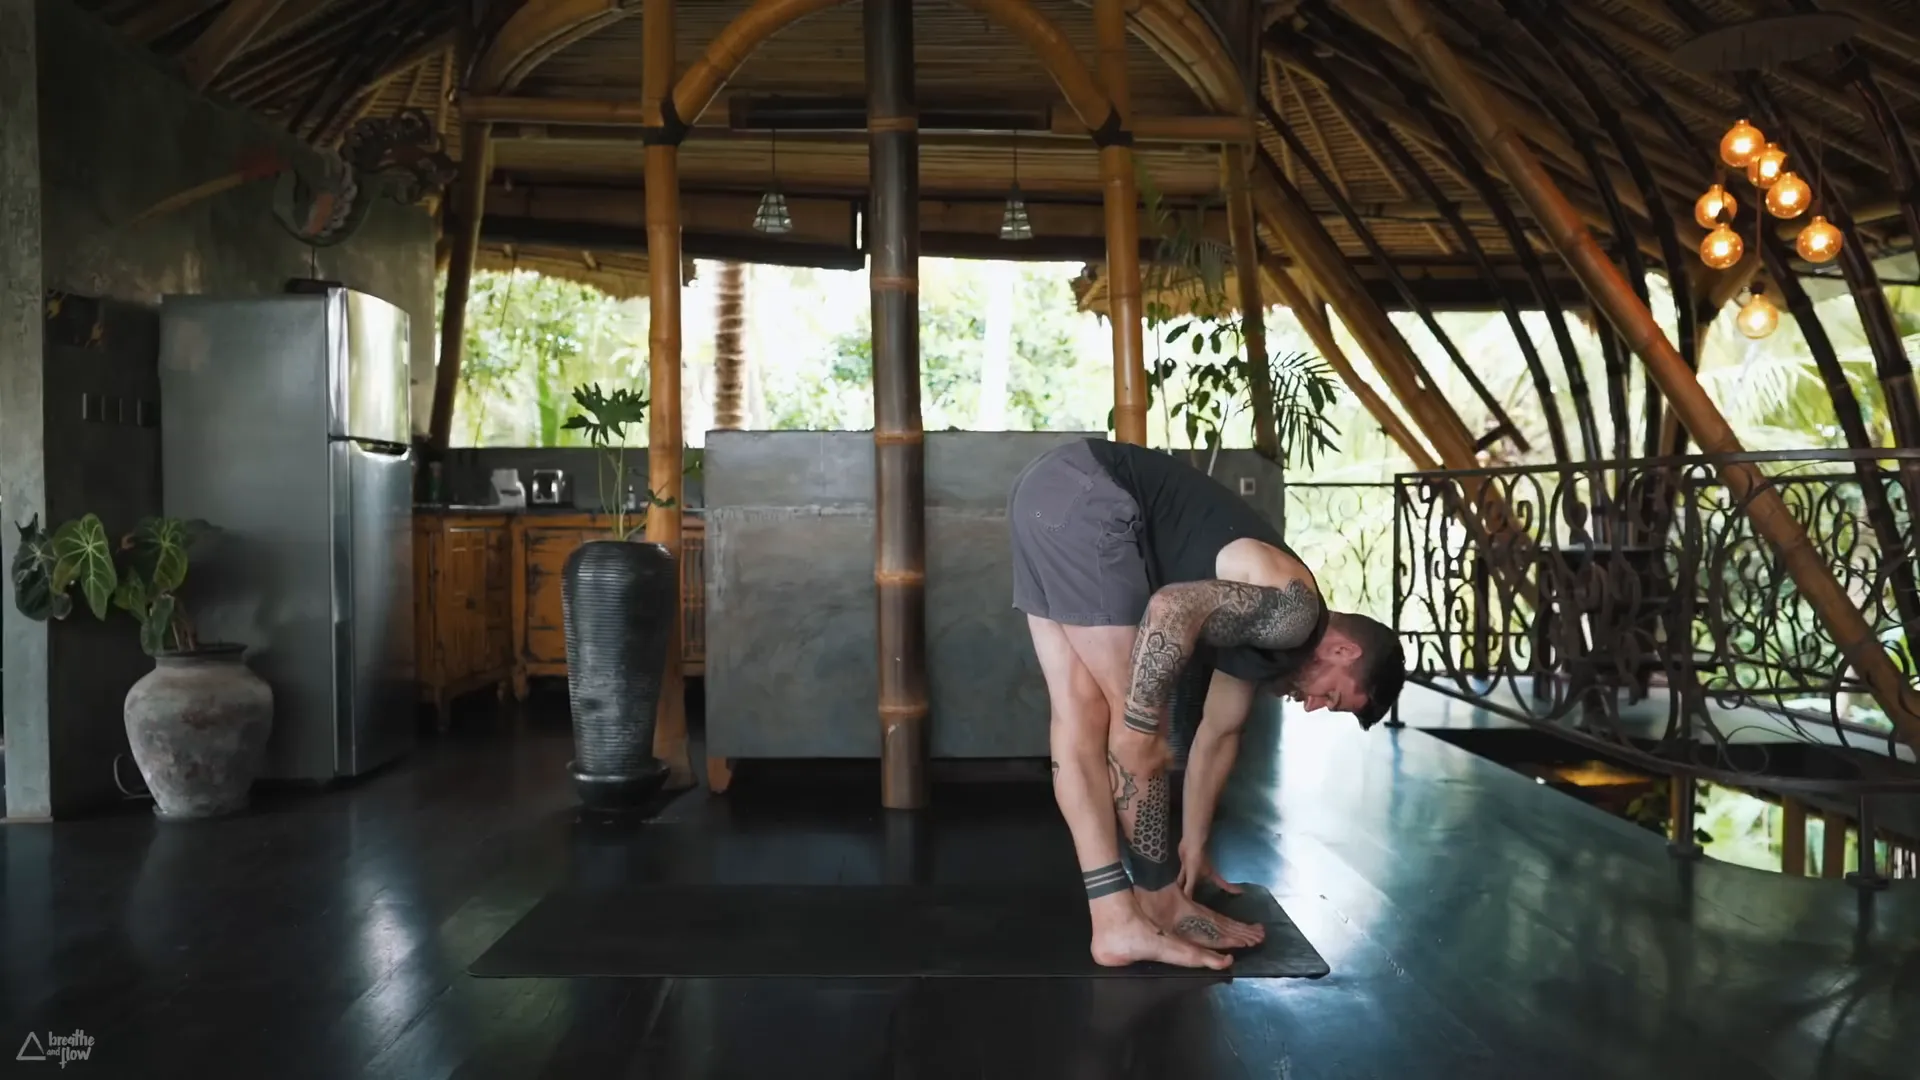
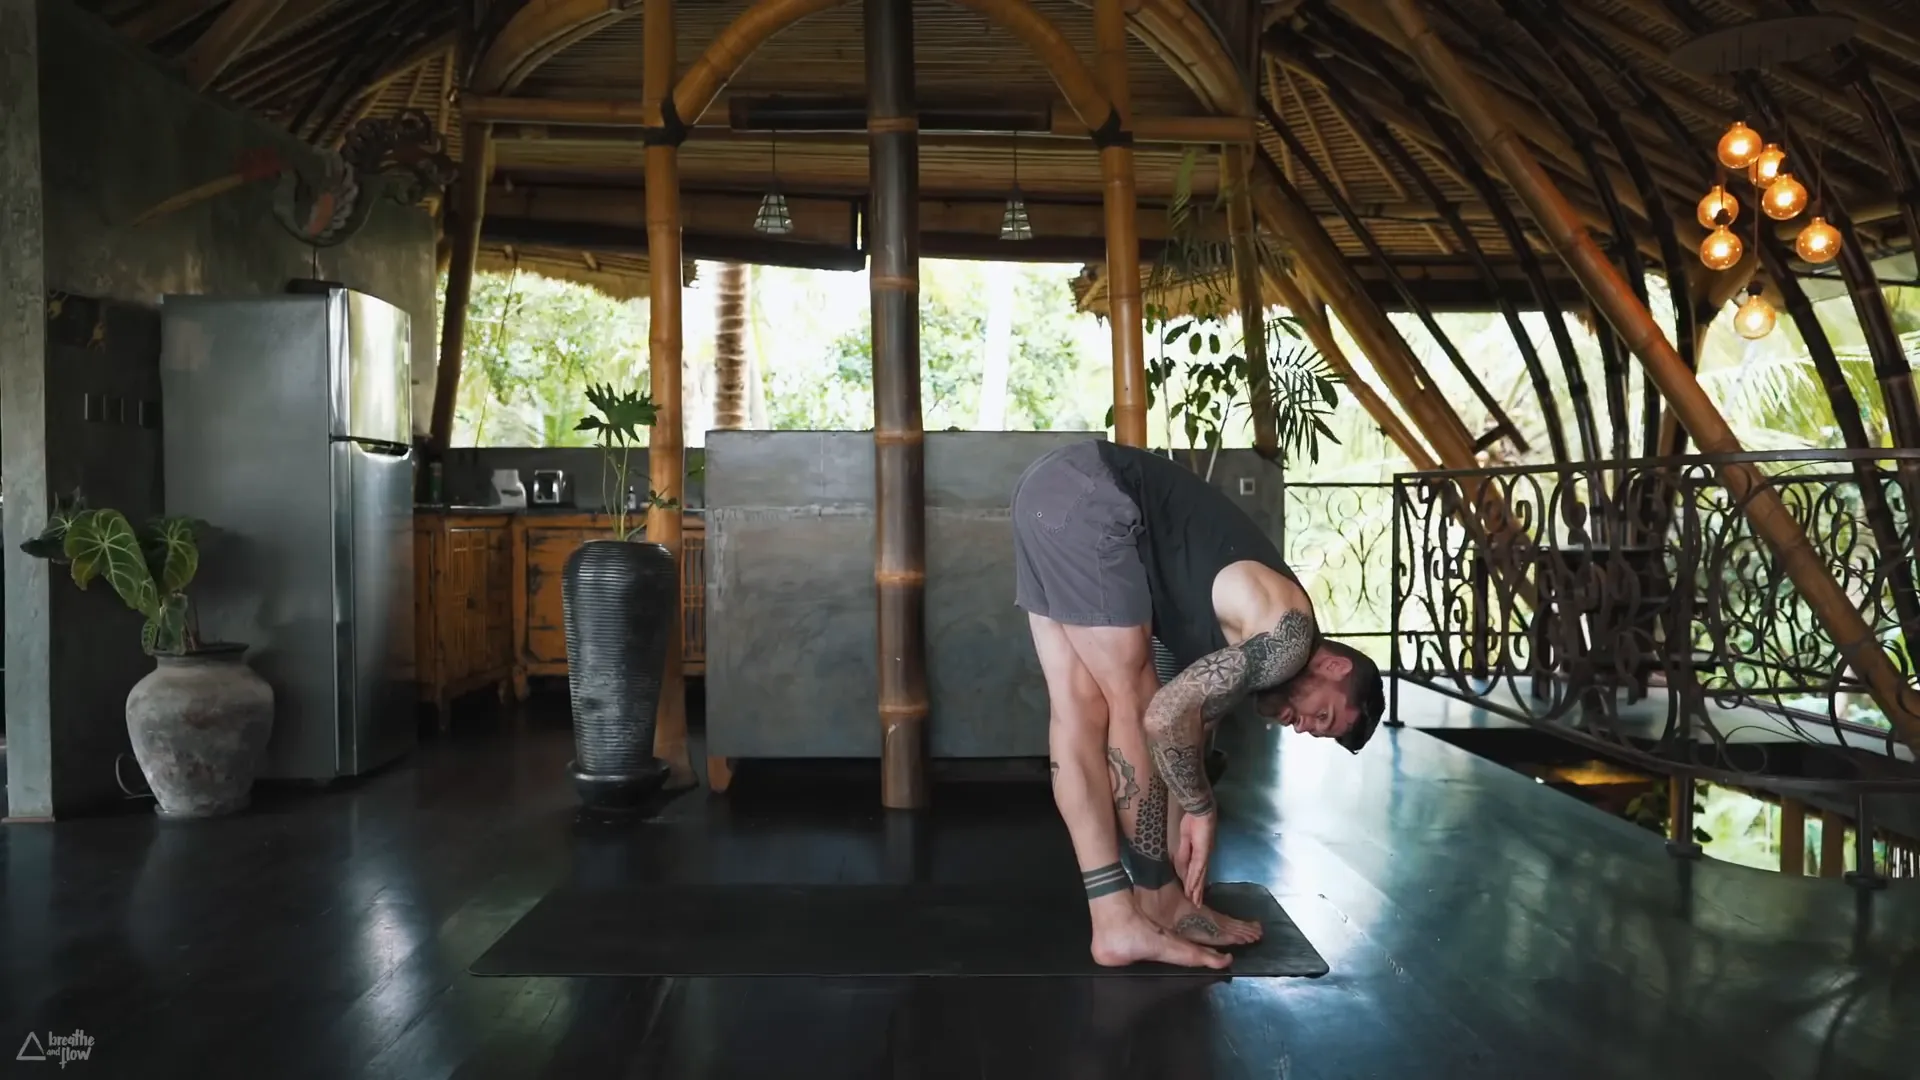
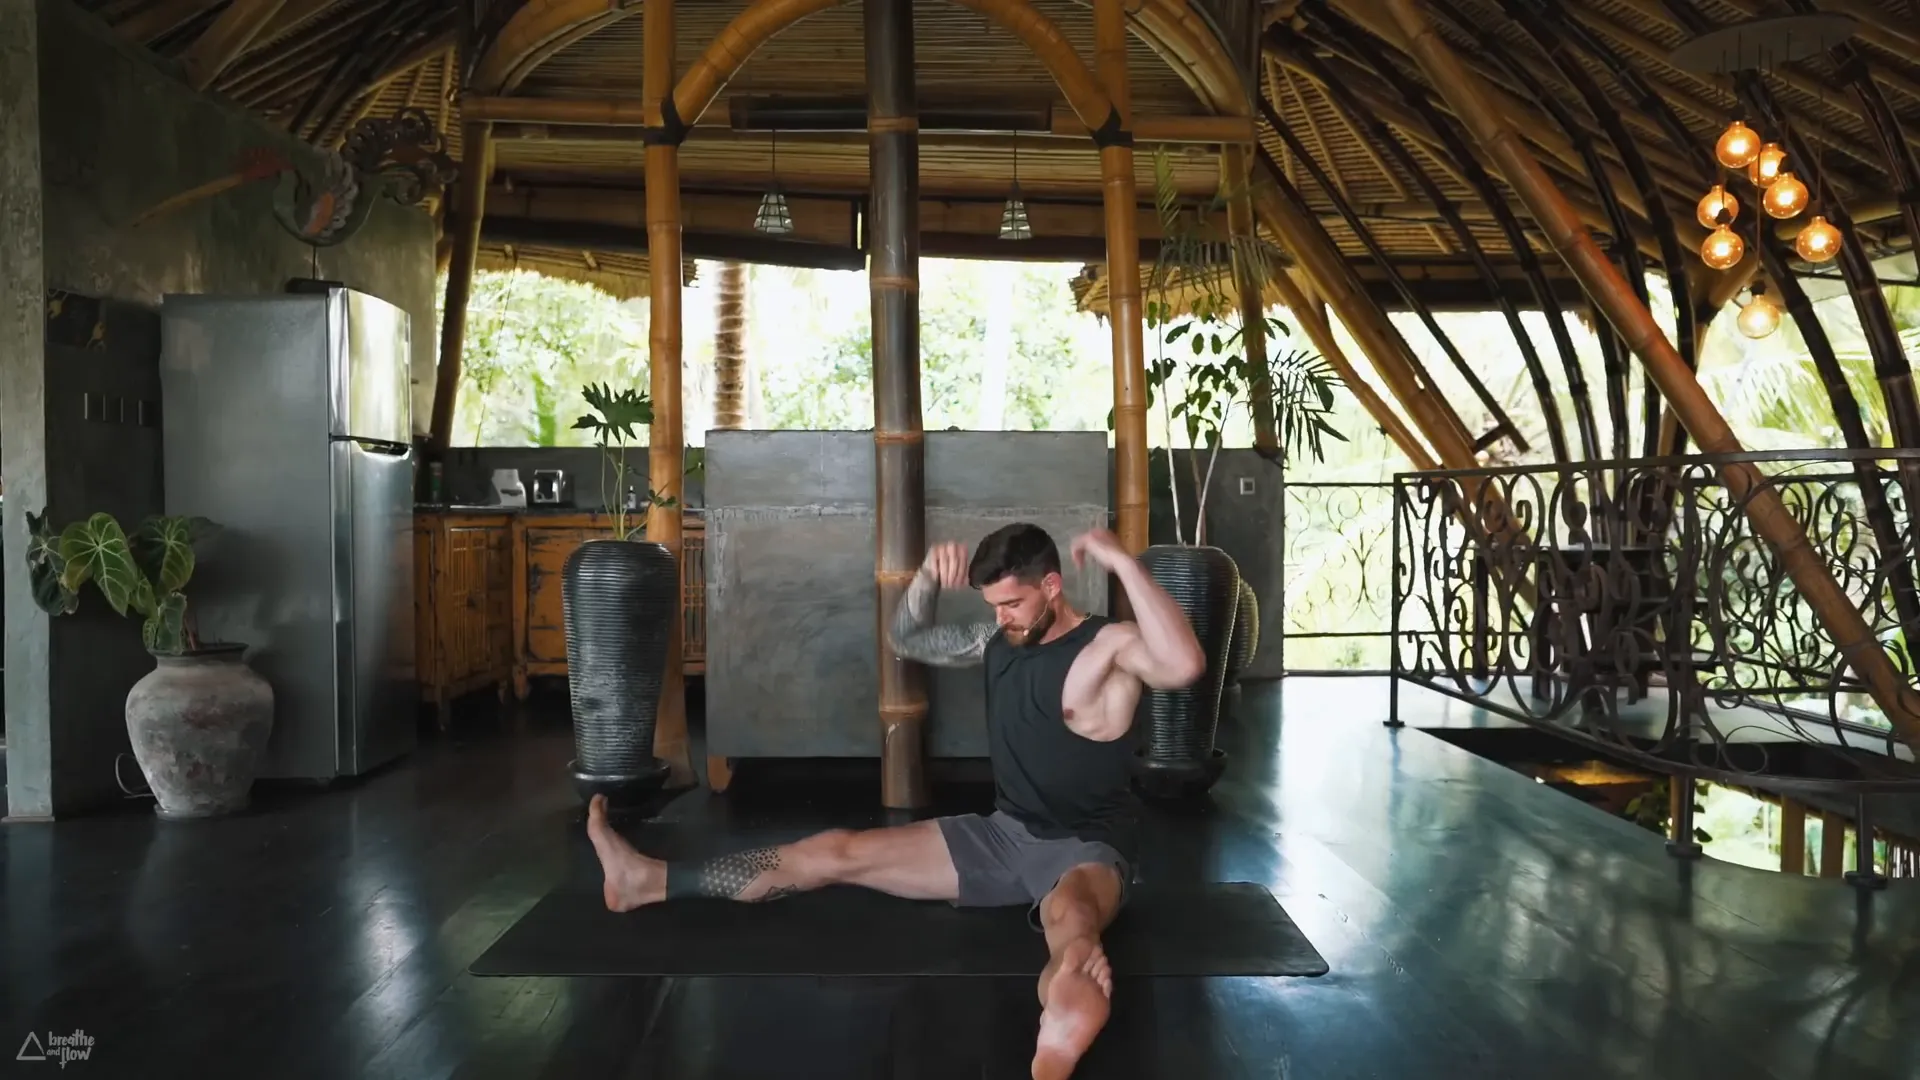
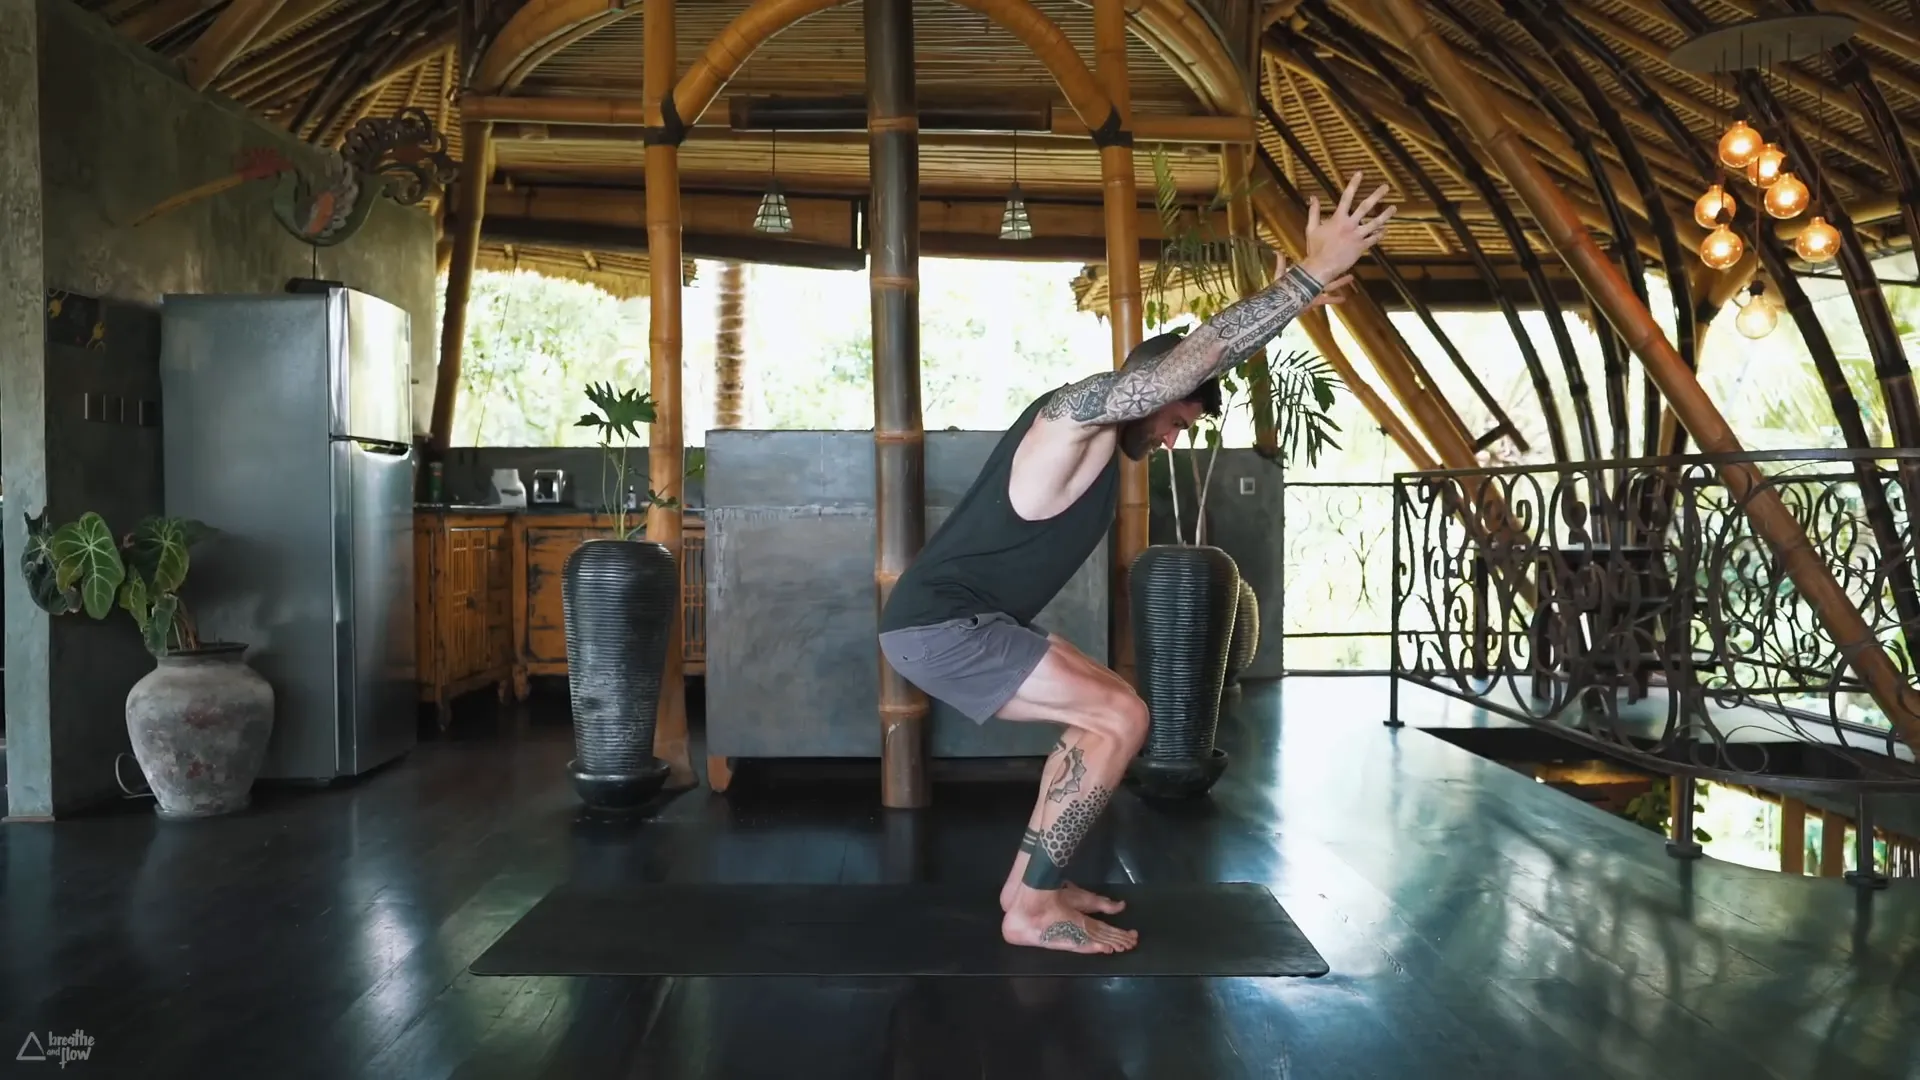
Chair Pose and Boat Pose
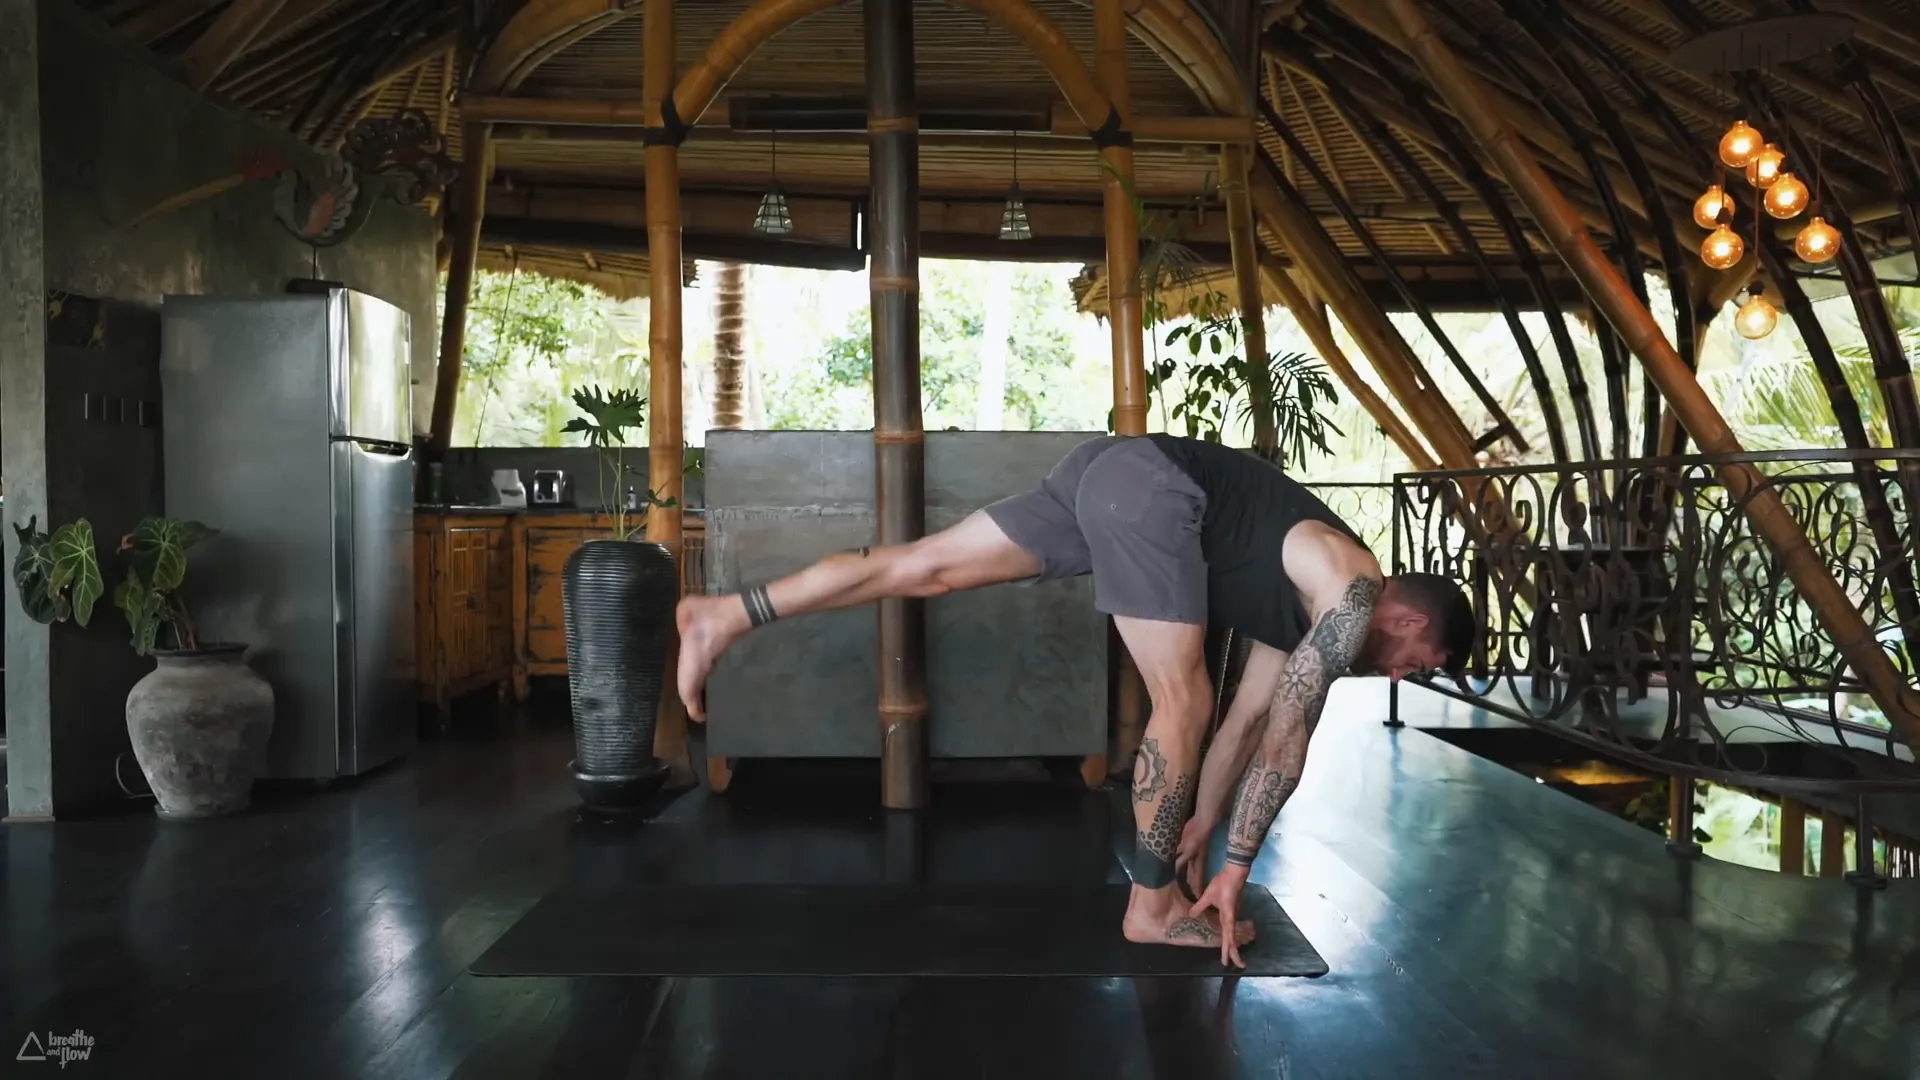
Begin in Downward Facing Dog, then either step or jump forward into a forward fold, followed by a standing roll-up. Lift your arms overhead and go into Chair pose. In this position, you should bend your knees and place your weight on your heels. This pose helps to build strength in the legs and abdominal muscles as well as improving stability.
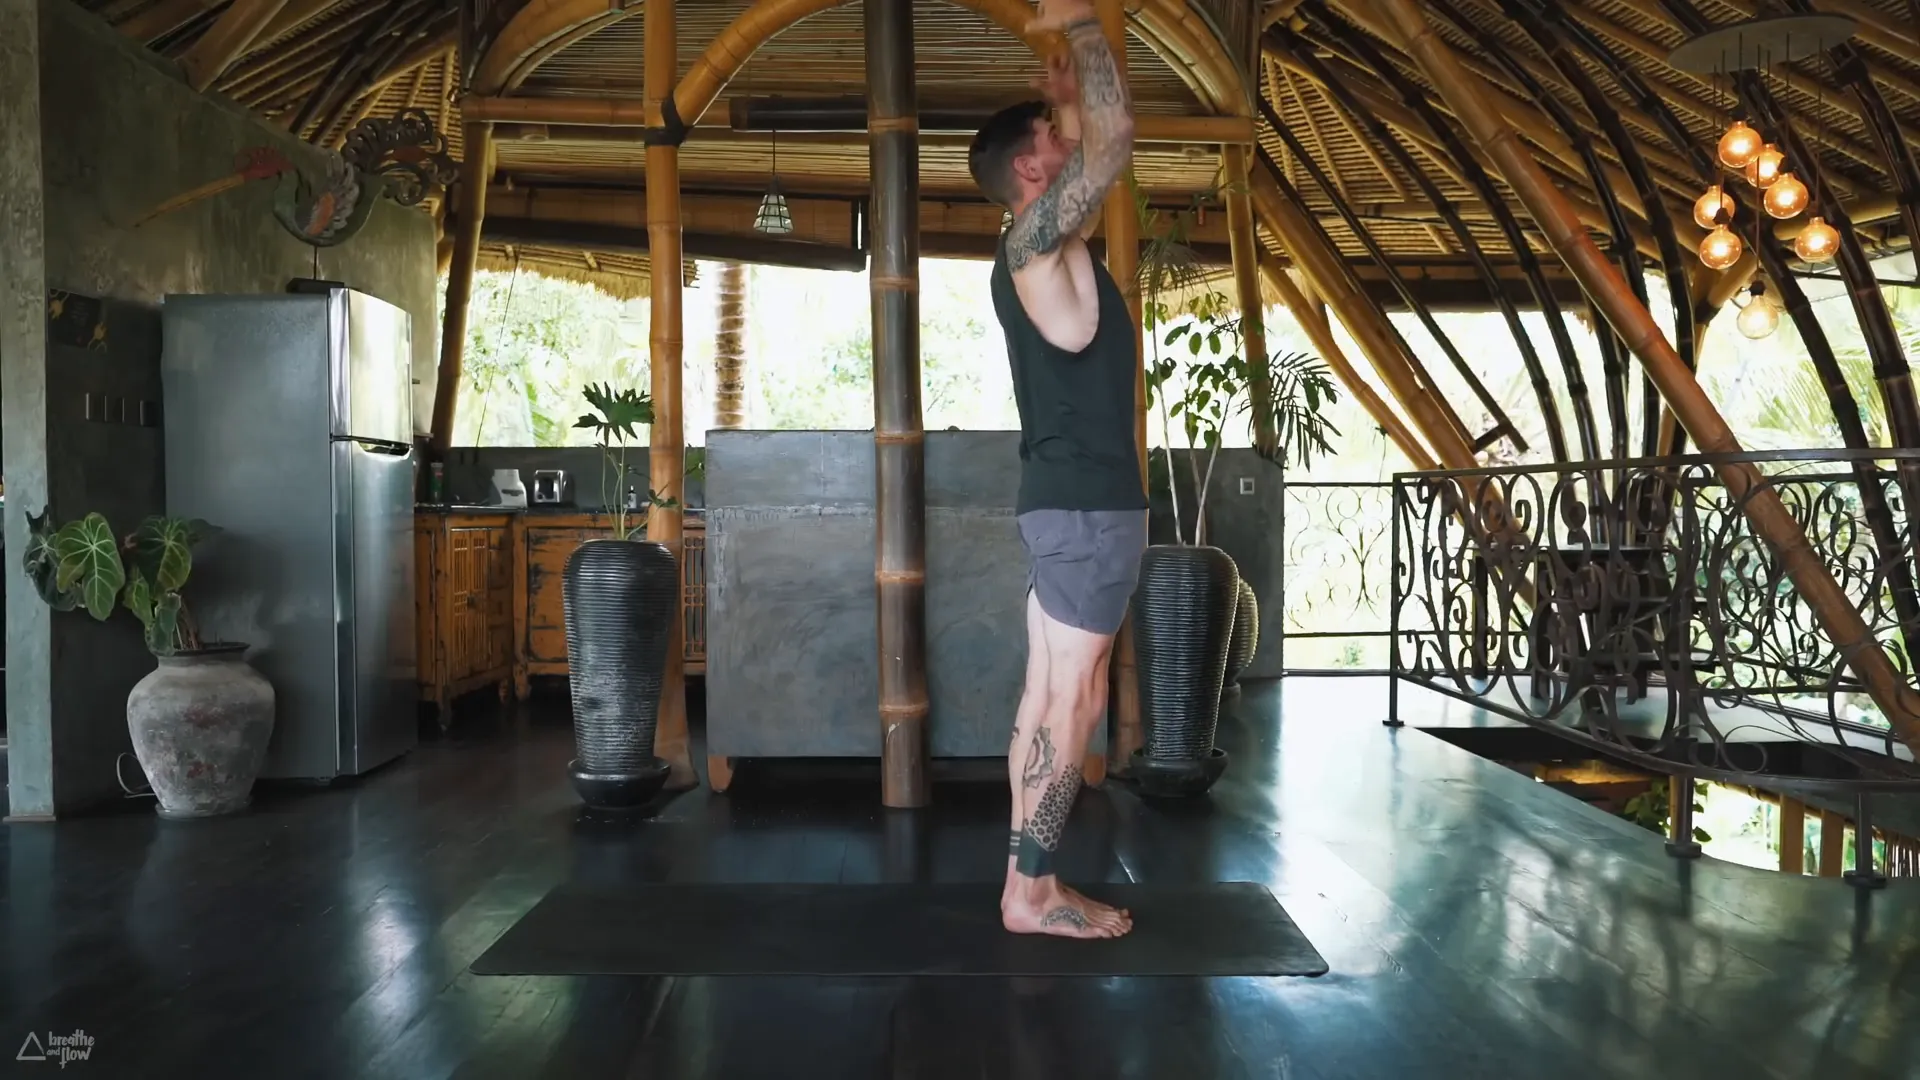
Stay in Chair pose for a few breaths while being mindful of your alignment. Make sure your knees are not extending beyond your toes and your back is straight. For additional challenge, raise your heels from the ground and keep balance on your toes. This alternative pose works the muscles in your feet as well as improves stability.
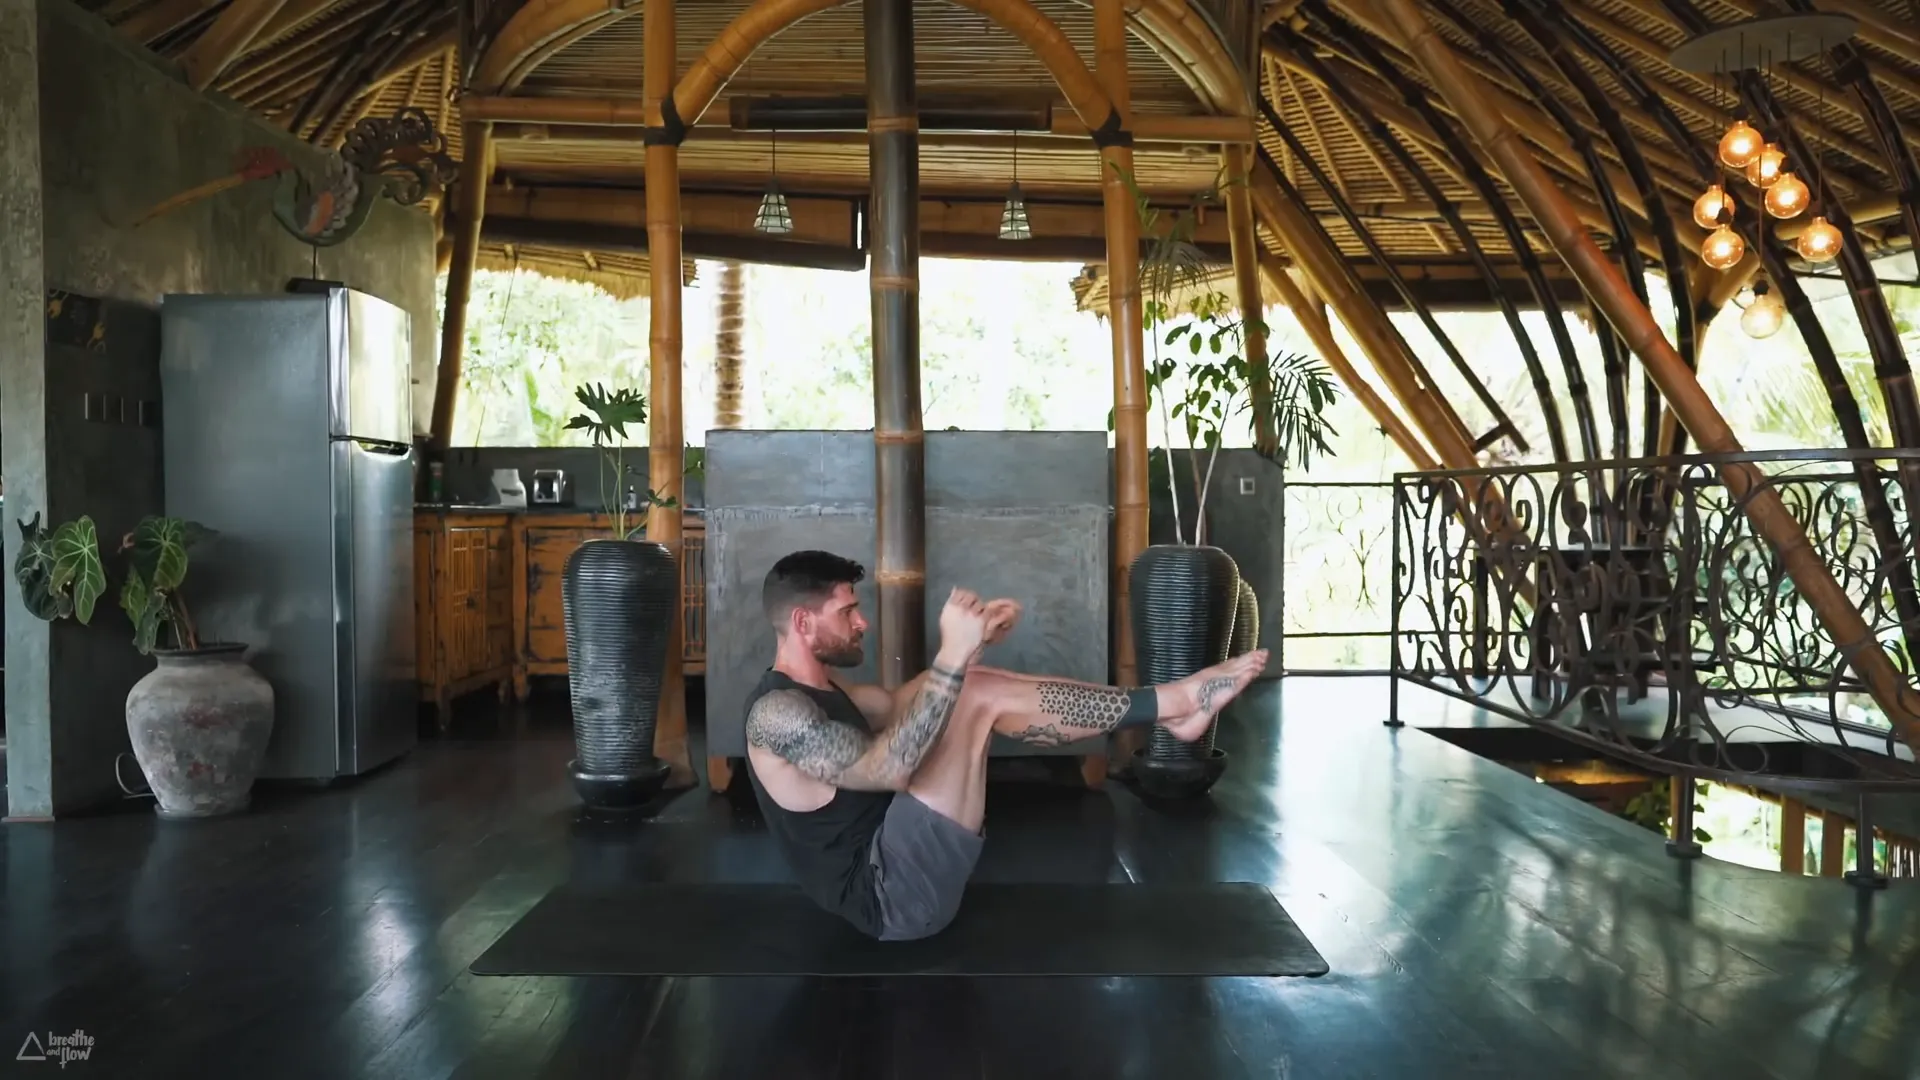
Next up, step into the Boat pose. Position yourself on the ground and raise your legs parallel to the ground, your shins need to be straight. You can either extend your arms forward or place them behind you for stability. This yoga pose not only strengthens your core but also enhances your concentration.
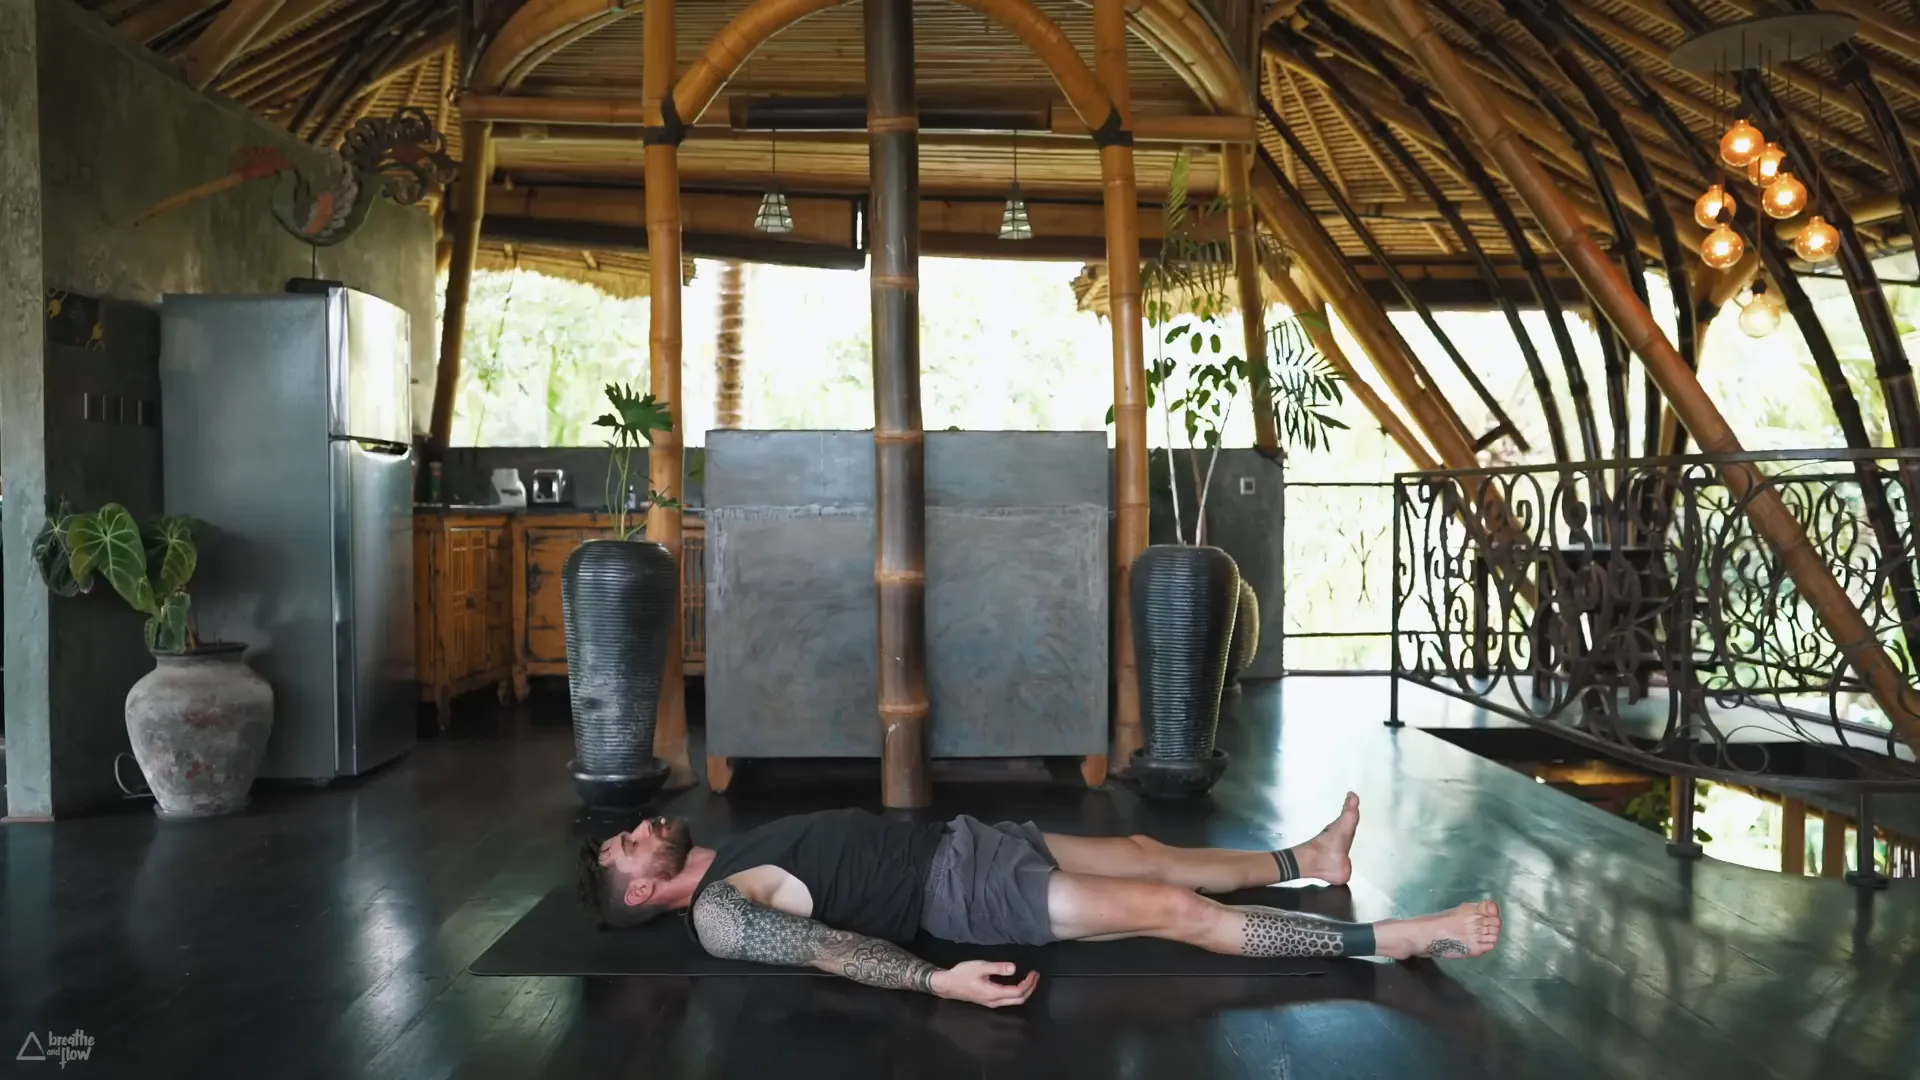
Final Relaxation in Savasana
Rest and integrate all the benefits of your flow after the practice is very important. To get into Savasana, simply lie on your back with your feet dropping opened and your arms lying down beside your body. Shut your eyes and concentrate on your breathing.

At this moment, you are fully into your final relaxation. You start to feel your body weight deeply on the floor mat. As you turn your attention away from any external thoughts, you are completely absorbed in your own breathing. The space you are in is full of vitality and peace, allowing you to reflect and renew the mind, thus improving the mental health benefits of your Yoga For Men practice.
FAQ: Common Questions About Yoga For Men
What are the benefits of Yoga For Men?
Yoga For Men has a multitude of advantages such as enhanced flexibility, gains in strength, and a sharper mind. It is also a way to relieve stress and contribute to the general well-being.
Can beginners practice Yoga For Men?
For sure! Yoga is available for all, regardless of level of expertise. Initially, you can do the basic poses before moving on to more difficult ones progressively.
How often should I practice yoga?
The best way to achieve positive effects and desired results would be by doing yoga a minimum of twice weekly and a maximum of 3 times a week. This rate aids in the retention of elasticity and power, and at the same time, it lets your body recuperate.
What should I wear for yoga?
It is wise to wear clothes that are comfortable and breathable, thus allowing you the freedom and flexibility to move. Instead of loose clothes, opt for fitted ones that are capable of holding your body in a specific position.
Do I need any special equipment?
A yoga mat is more often for grip and comfort, but of course, there are some other props such as blocks and straps that can improve your yoga practice especially for...
Can yoga help with muscle recovery?
Right, yoga is a great tool that can help recover muscles quickly. The sequences and postures promote blood circulation to muscles, which is a great boon to them and for sure, this will help in muscle recovery from soreness.
This article was curated from the video Yoga for Men | Episode 7 click here to tlearn more about this YouTube Channel

Facebook Comments